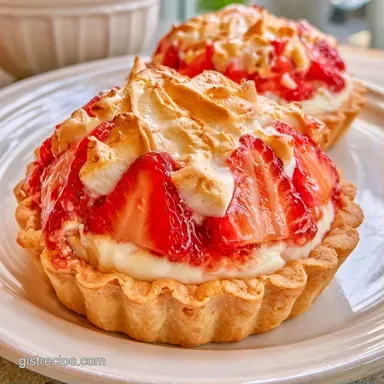
Mini Eton Mess Cheesecake Tarts: No-Bake
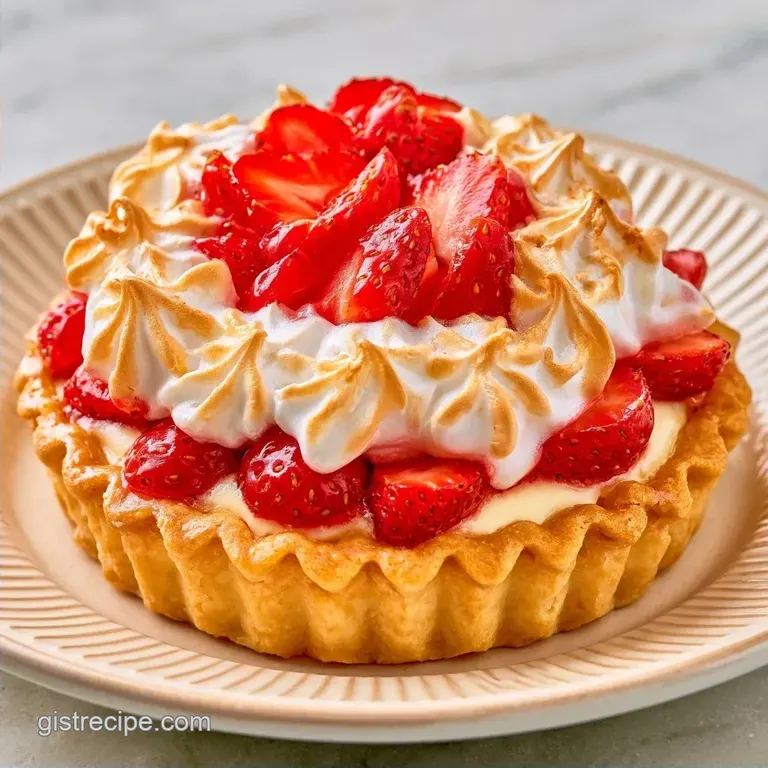
- Time: 30 min active + 4 hours 30 mins chilling
- Flavor/Texture Hook: Tangy raspberries and shattering meringue
- Perfect for: Afternoon tea or summer garden parties
Mini Eton Mess Cheesecake Tarts
The sharp crack of a mini meringue between your teeth is the best part of this dessert. I used to think that no bake treats were just glorified puddings that never quite held their shape. I spent way too long believing the myth that you need an oven and a water bath to get a cheesecake that actually feels like a tart.
Honestly, that's just not true. You don't need the heat to get a clean slice or a sturdy base. These Mini Eton Mess Cheesecake Tarts prove that cold temperatures and the right fat ratios do all the heavy lifting for you.
You can expect a handheld treat that hits every note: the salty sweet crunch of the crust, a cloud like filling, and the zing of fresh raspberries. It's a bit of a mess by design, so you don't have to worry about your piping skills being top notch.
Quick Summary
This is the perfect solution for feeding a group without sacrificing your entire day. By utilizing a couple of clever shortcuts such as pre-made meringues you can keep expenses low without compromising the quality.
Because this is a no-bake recipe, you don't have to worry about the cheesecake surface cracking. You'll achieve a flawlessly smooth texture every single time. It's an affordable method that produces a professional, gourmet result.
The only part you can't accelerate is the setting time. Be sure to let it chill completely, otherwise your tart will turn into a tasty soup. Make sure to schedule your prep around that four hour requirement.
Key Techniques
Temperature Contrast: Beating room temperature cream cheese with ice cold heavy cream creates a stable structure that stays light. If the cheese is too cold, you'll get lumps that no amount of whisking can fix.
The Freezer Lock: Chilling the crusts for 10 minutes before filling prevents the base from sliding or absorbing too much moisture from the cream. It creates a barrier that keeps the bottom crisp.
DIVTABLE_0
DIVTABLE_1
Ingredient Deep Dive
I've found that using Philadelphia cream cheese is the safest bet for budget smart baking because its consistency is predictable. Some cheaper store brands have more water, which can make the filling runny.
For the base, digestive biscuits or graham crackers provide that classic honey wheat flavor that cuts through the richness of the cream. If you want to save a few cents, any plain vanilla wafer works too.
What Each Ingredient Does
| Ingredient | Role | If You Don't Have It |
|---|---|---|
| Philadelphia Cream Cheese | Provides structure and tang | Mascarpone (richer, less tangy) |
| Heavy Whipping Cream | Adds air and volume | Double cream (thicker, less airy) |
| Mini Meringues | Adds a shattering crunch | Crushed vanilla wafers |
| Raspberry Coulis | Adds acidity and color | Strained seedless jam |
DIVTABLE_2
For the Buttery Base
The base needs to be compressed firmly. If you're too gentle, the tart will crumble the moment you take a bite. I like using the flat bottom of a shot glass to get into the corners of the pan.
For the Filling
The goal is a "cloud" texture. When you fold in the whipped cream, do it with a spatula, not a whisk. If you whisk too hard, you'll knock the air out and lose that lightness.
For the Eton Mess Topping
Don't over crush the meringues. You want some shards and some powder. This variety in size makes the texture more interesting.
Equipment Needed
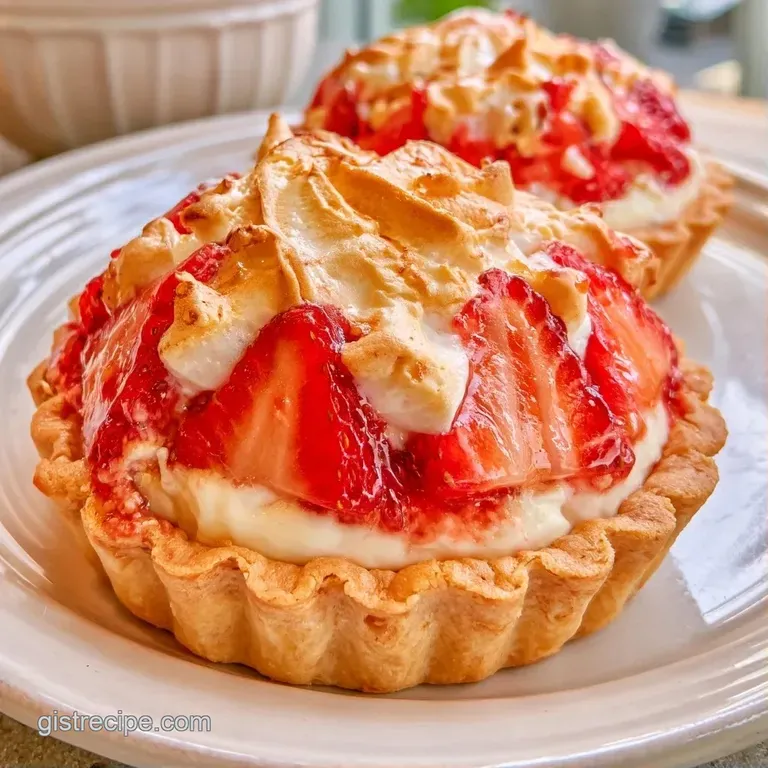
A basic hand mixer is all you need for this. While a piping bag helps achieve a cleaner look for the filling, a simple spoon works just as well.
Either mini tart pans or a muffin tin will do. If you choose a muffin tin, just be sure to use liners or a light coating of grease so the crusts come out easily.
I suggest using a chilled metal bowl to whip the cream. Since metal stays cold, the fat globules bond more quickly, allowing you to reach stiff peaks in less time.
Bringing It Together
Phase 1: Preparing the Base
- In a medium bowl, combine the crushed biscuits, melted butter, and sugar until the texture resembles wet sand.
- Divide the mixture evenly between your tart pans.
- Using a thumb or a small glass, press the crumbs firmly into the bottom and slightly up the sides.
- Chill the pans in the freezer for 10 minutes to set the shape. Note: This ensures the crust doesn't crumble once the filling is added.
Phase 2: Preparing the Filling
- Beat the softened Philadelphia cream cheese and powdered sugar until completely smooth and free of lumps. Stir in the vanilla extract.
- In a separate chilled bowl, whisk the heavy cream until stiff peaks form.
- Using a spatula, carefully incorporate the whipped cream into the cream cheese blend. Note: Work slowly to keep the filling light.
- Pipe or spoon the filling into the cold crusts and level the tops with a spatula.
- Chill in the refrigerator for 4 hours 30 mins until the filling is firm to the touch.
Phase 3: The Final Touches
- Top each chilled tart with a small swirl of whipped cream.
- Press 2-3 fresh raspberries into the cream and scatter a pinch of crushed meringues on top.
- Finish with a drizzle of raspberry coulis for a vibrant pop of color.
Troubleshooting Guide
If your filling feels too soft, it's usually because the heavy cream was over beaten or the cream cheese was too warm. When cream turns to butter, it loses its ability to hold air.
For a crust that crumbles away, the issue is almost always the butter to crumb ratio. If it feels too dry while mixing, add one more tablespoon of melted butter.
If you find the tarts are too sweet, you can balance them by adding a tiny pinch of salt to the crust. This highlights the raspberry tartness. If you enjoy other berry flavors, my Mini Black Raspberry Cheesecakes use a similar logic with a different fruit profile.
Filling Won't Set
This usually happens if the cream cheese wasn't fully softened or the fridge is too warm. Ensure your fridge is set to the recommended temperature for dairy safety, which USDA guidelines generally place around 40°F.
Base Is Too Soggy
This happens when the tarts sit in the fridge for too long before the toppings are added. Keep them chilled, but don't add the meringues until the very last second.
Lumpy Cream Cheese
If you see small white dots in your filling, your cream cheese was too cold. You can fix this by gently warming the mixture over a double boiler for 30 seconds, then re whipping.
| Problem | Root Cause | Solution |
|---|---|---|
| Runny Filling | Over beaten cream | Chill for another 2 hours |
| Crumbling Base | Not enough butter | Press firmer or add melted butter |
| Meringues Melting | Added too early | Top just before serving |
Creative Twists
If you want to move away from raspberries, blueberries and lemon zest make a great combination. Just swap the raspberries for fresh blueberries and add a bit of lemon juice to the cream cheese.
For a richer version, you could try a White Chocolate Raspberry Cheesecake recipe style filling by folding in melted white chocolate. Just make sure the chocolate has cooled to room temperature so it doesn't melt your whipped cream.
For a gluten-free Base
Use gluten-free digestive biscuits or a mixture of almond flour and melted butter. The almond flour adds a nuttier taste that pairs well with the meringues.
For Tropical Vibes
Swap the raspberries for diced mango and the raspberry coulis for a passionfruit glaze. It turns this into a summer tropical treat.
A Lighter Version
You can swap half of the cream cheese for Greek yogurt. It adds a sharper tang and reduces the fat content, though the tart will be slightly softer.
Storage and Freezing
Keep these tarts in an airtight container in the refrigerator. They stay fresh for about 3 days. However, the meringues will start to soften after 24 hours because they absorb moisture from the cream.
For the best experience, store the bases and filling in the fridge, but keep the meringues and berries separate until you're ready to eat.
You can freeze the unfilled crusts for up to 2 months. If you freeze the filled tarts, do it before adding the toppings. Thaw them in the fridge overnight before decorating.
To avoid waste, use any leftover raspberry coulis as a drizzle for pancakes or stir it into plain yogurt. If you have extra cream cheese, it makes a great base for a savory bagel spread with chives.
Serving Suggestions
These tarts are quite rich, so they pair well with something light. A glass of chilled Prosecco or a pot of Earl Grey tea balances the sweetness.
If you're serving these at a party, place them on a wooden platter with a few fresh mint leaves scattered around. The green against the red raspberries looks great.
I've found that serving these on a slightly chilled plate keeps the filling stable longer, especially if you're hosting outdoors in the summer heat.
Key Techniques
These Mini Eton Mess Cheesecake Tarts maintain their shape because the fat in Philadelphia cream cheese supports the air bubbles within the whipped cream.
Rather than using egg proteins to set like a baked cheesecake, this version relies on fat saturation and refrigeration to achieve a sliceable consistency. This straightforward method produces a professional result without the hassle of a water bath.
Final Checklist
- Crust resembles wet sand?
- Cream cheese is completely smooth?
- Whipped cream has stiff peaks?
- Refrigerated for at least 4 hours?
Recipe FAQs
Are these mini tarts a good easy dessert for kids to make?
Yes, children can easily help crush the biscuits or press the crust into the pans. It is a great way to get them involved in the kitchen without using heat.
How to keep the cheesecake filling light and airy?
Carefully combine the whipped cream with the cream cheese using a spatula. This slow process keeps the air inside, ensuring the mixture remains light and fluffy.
Why do the meringues soften over time?
Meringues absorb moisture from the cream filling and fresh raspberries. To keep them perfectly crisp, add the toppings just before you serve the tarts.
Is it true that these cheesecakes must be baked?
False. These are no-bake tarts that set in the refrigerator for at least four hours.
What should I do if the crust feels too dry?
Add one more tablespoon of melted butter to the crumb mixture. If you enjoyed mastering this no-bake crust, the same logic applies to our no bake lemon pie.
Mini Eton Mess Cheesecake Tarts