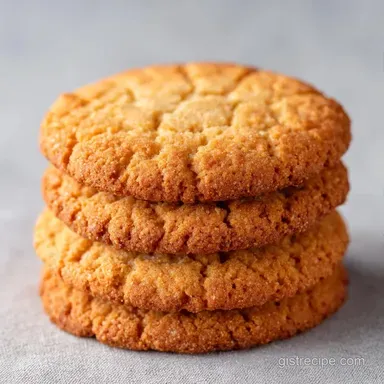
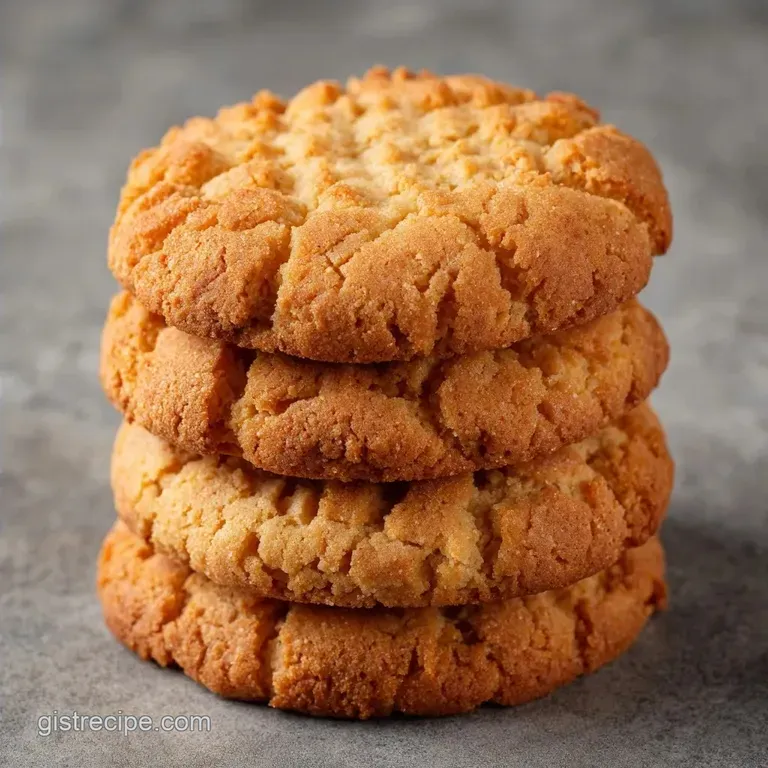
Easy Graduation Party Cookies: Buttery and Soft
- Time: 15 min active + 30 min chilling
- Flavor/Texture Hook: Buttery, soft snap texture with a velvety vanilla glaze
- Perfect for: Large party platters, graduation dessert tables, or student gifts
- Easy Graduation Party Cookies Recipe
- The Full Ingredient List
- Tools You'll Need
- Step By Step Instructions
- Fixing Common Cookie Problems
- Troubleshooting Common Issues
- Swaps And Flavor Twists
- Adjusting the Batch Size
- Cookie Baking Myths
- Freezing And Storage Tips
- Serving And Presentation Ideas
- Recipe FAQs
- 📝 Recipe Card
The smell of warm vanilla and toasted butter always hits me first when I start baking these. I remember one year I tried to rush a batch for my cousin's grad party, skipping the chilling step entirely. The result? A giant, sugary sheet cookie that looked more like a pancake than a diploma.
I had to scrape them off the pan with a spatula and hope nobody noticed.
Since then, I've stuck to the rules. These Easy Graduation Party Cookies are all about that reliable, sturdy base that doesn't budge in the oven. You get that clean edge that makes decorating actually feel doable, even if you aren't a pro with a piping bag.
Expect a cookie that is soft in the middle but firm enough to handle a thick layer of colorful glaze. We're going for a look that's polished but tastes like something homemade. It's a quick win that makes you look like you spent all weekend in the kitchen when you actually just used a hand mixer and a bit of patience.
Easy Graduation Party Cookies Recipe
Why These Cookies Work
- The Chill Factor: Letting the dough rest for 30 minutes firms up the butter. This prevents the cookies from spreading into puddles, keeping those graduation shapes crisp.
- Sugar Ratio: The balance of granulated sugar in the dough creates a slight crispness on the edge while keeping the center tender.
- Glaze Stability: Using powdered sugar and milk creates a high viscosity coating. It sets quickly, which means your food coloring won't run or smudge.
- Leavening Control: A small amount of baking soda provides just enough lift without making the cookies puffy or cakey.
Fresh vs. Shortcut Comparison
| Feature | Homemade From Scratch | Pre Made Dough Shortcut | Impact |
|---|---|---|---|
| Texture | Velvety and buttery | Often grainier or oily | Better mouthfeel with scratch |
| Shape | Holds detail perfectly | Tends to spread more | Cleaner look for decorations |
| Flavor | Fresh vanilla punch | Artificial aftertaste | Scratch tastes more "premium" |
Component Analysis
| Ingredient | Science Role | Pro Secret |
|---|---|---|
| Unsalted Butter | Provides structure and richness | Use "cool room temp" so it doesn't melt too fast |
| All Purpose Flour | Builds the gluten framework | Spoon and level for accuracy, or use a scale |
| Powdered Sugar | Creates the smooth glaze | Sift it if you see lumps to avoid "glaze bumps" |
| Gel Coloring | Intense pigment without thinning | Use a toothpick for precise color mixing |
The Full Ingredient List
For the Cookie Base: 1 cup (225g) unsalted butter, softened Why this? Gives that classic, rich bakery flavor 1 cup (200g) granulated sugar Why this? Ensures the edges get that slight golden snap 1 large egg (50g) Why
This? Binds the dough and adds a bit of lift 1 tsp (5ml) vanilla extract Why this? Adds warmth and depth to the butter 2 ¾ cups (340g) all purpose flour Why this? Standard protein for a sturdy, rollable dough ½ tsp (3g)
Baking soda Why this? Prevents the cookies from being too dense ½ tsp (3g) salt Why this? Cuts through the sweetness of the sugar
For the Easy Graduation Glaze: 2 cups (250g) powdered sugar Why this? Dries hard enough to hold shapes 3 tbsp (45ml) milk Why this? Thins the sugar into a spreadable paste 1 tsp (5ml) vanilla extract Why this? Ties
The glaze flavor to the cookie base Gel food coloring Why this? High pigment, doesn't change glaze consistency
Chef's Note: If you're using a scale, trust the grams. Volume measurements for flour can vary wildly depending on how you scoop, which is why King Arthur Baking always recommends weighing your ingredients for consistency.
Tools You'll Need
You don't need a fancy kitchen for this. A standard electric hand mixer, two medium bowls, and a rolling pin will do the trick. I usually use parchment paper on my baking sheets because scrubbing burnt sugar off a pan is a nightmare I don't wish on anyone.
If you don't have a graduation themed cookie cutter, a simple circle or rectangle works fine, as you can pipe the "diploma" look on top.
Step by step Instructions
Phase 1: Prepping the Dough
- Cream the softened butter and granulated sugar. Use your mixer on medium speed until the mixture looks light and fluffy.
- Beat in the egg and vanilla extract. Mix until the batter is smooth and fully emulsified.
- Whisk the flour, baking soda, and salt in a separate bowl. Gradually add this to the wet ingredients until a soft, non sticky dough forms.
- Wrap the dough tightly in plastic wrap. Chill in the refrigerator for 30 minutes Note: This is the secret to preventing spread.
Phase 2: Rolling and Baking
- Preheat your oven to 350°F (175°C). Line your baking sheets with parchment paper.
- Roll the chilled dough on a floured surface. Aim for ¼ inch thickness and cut into your graduation shapes.
- Bake for 8-10 minutes. Pull them out just as the edges turn barely golden.
- Let the cookies cool completely on the pan. If you move them too soon, they might snap.
Phase 3: The Finishing Touch
- Whisk the powdered sugar, milk, and vanilla extract. Stir until the glaze is smooth and velvety.
- Divide the glaze into small bowls and stir in your gel colors.
- Spoon a small amount of glaze onto the center of each cookie. Spread it outward with the back of a spoon.
- Let them set for 20 minutes until the glaze no longer feels tacky.
Fixing Common Cookie Problems
Troubleshooting Common Issues

| Issue | Solution |
|---|---|
| Why Did My Cookies Spread | Usually, this happens because the butter was too soft or the dough didn't chill long enough. When butter is too warm, it melts faster than the flour can set in the oven. |
| Glaze Too Runny | Too much milk is the culprit here. If the glaze is dripping off the sides of the cookie and pooling on the tray, it's too thin. |
| Why Are My Cookies Hard | Overbaking is the most common reason. These cookies only need a few minutes to set. If you wait for the centers to look brown, they will be rock hard once they cool. |
Quick Check for Success:
- ✓ Dough feels cold to the touch before rolling.
- ✓ Flour was measured by spooning it into the cup, not packing it.
- ✓ Cookies are removed from the oven before the centers brown.
- ✓ Glaze is thick enough to hold its shape on the spoon.
Swaps And Flavor Twists
If you want to change the flavor, you can easily tweak the base. For a more "birthday cake" vibe, you could use a similar frosting technique as my Homemade Butter Birthday Cake recipe. Just keep in mind that the cookie base needs to stay sturdy to support the weight.
Decision Shortcut: If you want a zesty flavor, add 1 tsp of lemon zest to the dough. If you want a crunchier cookie, bake for an extra 2 minutes at 325°F. If you want a glossy finish, add a tiny drop of corn syrup to the glaze.
Ingredient Substitutes
| Original Ingredient | Substitute | Why It Works |
|---|---|---|
| Unsalted Butter | Margarine (stick) | Similar fat ratio. Note: Slightly softer texture |
| All Purpose Flour | gluten-free 1:1 Blend | Works for most. Note: Dough may be more fragile |
| Milk | Heavy Cream | Makes glaze richer. Note: Thicker consistency |
| Gel Food Color | Natural Powders | Beet/Turmeric. Note: Colors will be more muted |
Adjusting the Batch Size
Scaling Down (Half Batch): To make 12 cookies, use ½ cup butter and ½ cup sugar. Since you can't easily use half an egg, crack one egg into a bowl, beat it, and use about 2 tablespoons.
Reduce baking time by about 1-2 minutes since smaller batches often heat faster in the oven.
Scaling Up (Double Batch): When making 48 cookies, don't just double the baking soda and salt increase them to 1.5x first and taste a test cookie. If you're baking multiple sheets at once, lower the oven temp to 325°F and extend the time by 2-3 minutes to ensure even heat distribution.
Work in batches so the dough doesn't get too warm while waiting for the oven.
Cookie Baking Myths
"You can skip the chilling if you use cold butter." Not really. Even with cold butter, the act of creaming and rolling warms the dough. Chilling ensures the fat is evenly distributed and the flour is fully hydrated, which is what actually stops the spread.
"More sugar makes the cookie crispier." To a point, yes. But too much sugar will cause the cookies to collapse and spread even more. The crispness comes from the interaction between the sugar and the heat, not just the amount of sugar in the bowl.
Freezing And Storage Tips
Storage Guidelines: Keep these Easy Graduation Party Cookies in an airtight container at room temperature for up to 5 days. If you live in a very humid area, the glaze might stay tacky, so keep the container in a cool, dry spot.
For the fridge, they'll last 10 days, but they might lose some of that "snap."
Freezing Tips: You can freeze the dough balls or the baked cookies. For dough, freeze them on a tray first, then toss them in a freezer bag for up to 3 months. For baked cookies, freeze them before glazing.
Once you glaze them, they don't freeze as well because the moisture in the glaze can create ice crystals.
Zero Waste Idea: If you have leftover glaze, don't throw it out. You can use it as a drizzle for a Traditional Vanilla Layer Cake or dip some fresh strawberries in it for a quick party appetizer.
Serving And Presentation Ideas
The "Diploma" Presentation
To make these look like real diplomas, roll the cookies into cylinders or cut them into rectangles. Use white glaze and then pipe a thin red ribbon across the middle. It's a simple trick that makes the cookies look like they came from a high end bakery.
The Graduation Charcuterie Board
Instead of a standard plate, lay out a wooden board. Place the Easy Graduation Party Cookies in the center and surround them with bowls of fresh berries, chunks of white chocolate, and maybe some mini marshmallows. The contrast of the colorful glaze against the fruit looks great in photos.
Party Platter Pairing
These are quite sweet, so they pair best with something acidic or bitter. I recommend serving them with a tray of sliced green apples or a pot of strong coffee. This balances the sugar and keeps guests coming back for more than just one.
Recipe FAQs
Why did my cookies spread too much in the oven?
The butter was likely too soft or the dough didn't chill long enough. When butter is too warm, it melts faster than the flour can set, causing the cookies to lose their graduation shapes.
How to fix a glaze that is too runny?
Whisk in more powdered sugar one tablespoon at a time. Too much milk causes the glaze to drip off the sides and pool on the tray rather than staying centered.
Why are my cookies coming out hard?
You are likely overbaking them. These cookies only need 8-10 minutes to set; if you wait for the centers to look brown, they will become rock hard.
Is it true I can skip chilling the dough if I am in a hurry?
No, this is a common misconception. Chilling the dough for 30 minutes is essential to prevent the butter from melting too quickly, which preserves the cut-out shapes.
How to tell when the cookies are perfectly baked?
Look for edges that are barely golden. Remove them from the oven immediately at this stage and let them cool completely on the baking pan.
When is the best time to apply the colored glaze?
Wait until the cookies have cooled completely. Applying glaze to warm cookies causes the sugar to melt and run, ruining the smooth finish.
Can I make these cookies a day in advance?
Yes, they store well in an airtight container. If you are preparing a full party spread, these sweet treats pair perfectly with a savory side like our classic coleslaw.
Easy Graduation Party Cookies