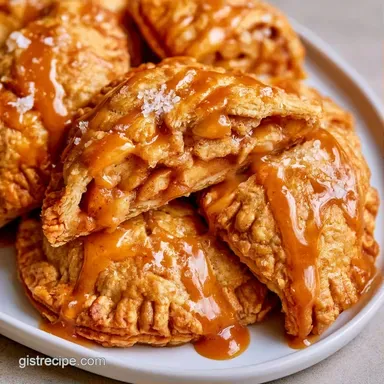
Salted Caramel Apple Hand Pies: Golden and Crisp
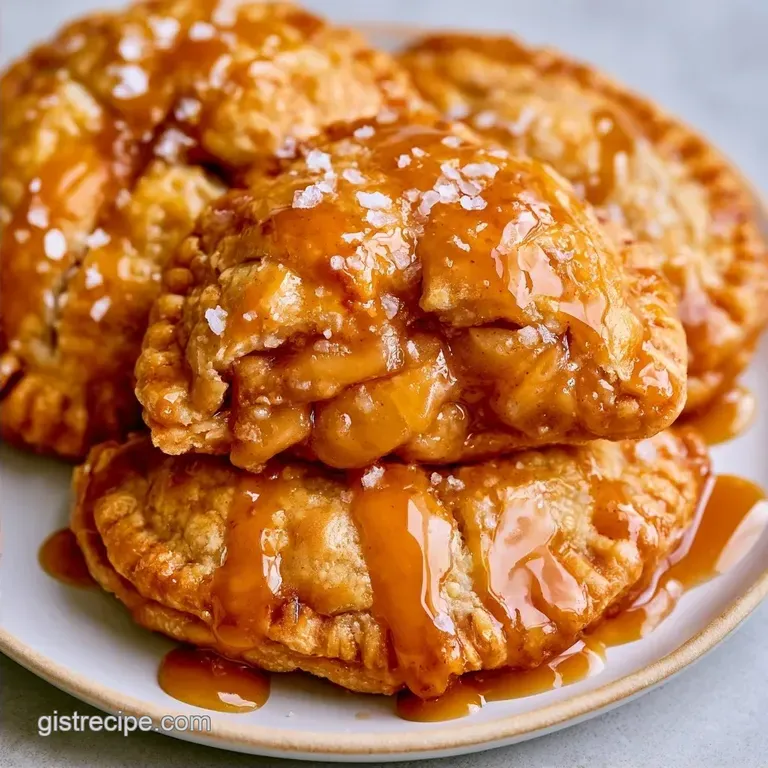
- Time: 20 min active + 25 min baking (plus 10 min cooling)
- Flavor/Texture Hook: Flaky, rich buttery crust with a gooey, salted center
- Perfect for: Fall gatherings, kids' snacks, or cozy rainy weekends
The aroma of bubbling brown sugar and melting butter instantly makes any home feel welcoming. I first whipped these up on a rainy Tuesday when I wanted something warm but didn't have the patience for hours of dough preparation.
The scent of cinnamon filling the room as the apples tenderize is easily my favorite part of the process.
You'll end up with a portable snack that's deliciously messy. These Caramel Apple Hand Pies aren't meant to be sophisticated; they're all about that magic between a crunchy shell and a molten, salty sweet heart. They are essentially a handheld take on a timeless comfort food classic.
Using puff pastry keeps the process effortless. It provides those light, airy layers that snap with every bite. Believe me, after trying this approach, you'll stop wrestling with standard pie crusts when you need a quick sweet treat.
Why Most Recipes Fail
The biggest issue with handheld pies is the "caramel volcano." You've probably seen it, where the filling leaks out and burns on the pan, leaving you with a half empty pie. This happens because the apples release water as they cook in the oven.
By sautéing the filling first and adding a cornstarch slurry, we lock that moisture in.
Another problem is the "soggy bottom." When you put raw fruit onto cold dough and blast it with heat, the bottom doesn't cook as fast as the top. Pre cooking the filling and letting it cool for 10 minutes prevents the dough from melting on contact.
Why the Starch Matters: Cornstarch binds the apple juices into a thick gel so they don't leak. This keeps the pastry crisp instead of soggy.
| Feature | Pre cooked Filling | Raw Filling |
|---|---|---|
| Texture | Thick and jammy | Chunkier, softer |
| Leak Risk | Low (due to starch) | High (juices release) |
| Best For | Hand pies/Tarts | Deep dish pies |
Quick Recipe Specs
Right then, let's get the timing straight so you can plan your afternoon. This recipe moves fast once the apples are in the pan.
- For a firmer set
- chill filling 20 mins.
- For extra crunch
- double sanding sugar.
- For softer apples
- sauté 3 mins longer.
Keep these checkpoints in mind: your apples should be tender after 7 minutes of sautéing, your pastry squares must be exactly 3x3 inches to fit the filling, and the bake time is a strict 25 minutes to ensure the center is hot without burning the edges.
The Main Components
I use Granny Smith apples because they hold their shape and provide a tart contrast to the heavy caramel. If you use a sweeter apple, the whole thing can taste a bit one dimensional.
The puff pastry is the heavy lifter here. It's mostly butter and air, which is why it shatters so satisfyingly. Don't bother with low-fat versions; they won't puff the same way. Salted caramel sauce adds that professional tasting depth, but you can adjust the salt if you prefer a purely sweet vibe.
Ingredients and Substitutes
- 300g Granny Smith apples, peeled and finely diced Why this? Tartness balances the caramel sugar. (Sub: Braeburn or Honeycrisp)
- 28g unsalted butter Why this? Creates a rich base for the fruit. (Sub: Coconut oil)
- 50g light brown sugar Why this? Adds a deep molasses note. (Sub: Maple syrup)
- 2.6g ground cinnamon Why this? The essential autumn aroma. (Sub: Apple pie spice)
- 8g cornstarch Why this? Prevents the filling from running. (Sub: Arrowroot powder)
- 15ml water Why this? Slurry base for the starch. (Sub: Apple juice)
- 1g salt Why this? Sharpens all the other flavors. (Sub: Sea salt flakes)
- 480g frozen puff pastry, thawed but chilled Why this? High fat for maximum flake. (Sub: Rough puff pastry)
- 120ml salted caramel sauce Why this? For that molten center. (Sub: Dulce de leche)
- 50g egg Why this? Proteins brown the crust. (Sub: Heavy cream)
- 15ml water Why this? Thins egg wash for even coating. (Sub: Milk)
- 15g sanding sugar Why this? Adds a sparkling, crunchy top. (Sub: Turbinado sugar)
Necessary Kitchen Gear
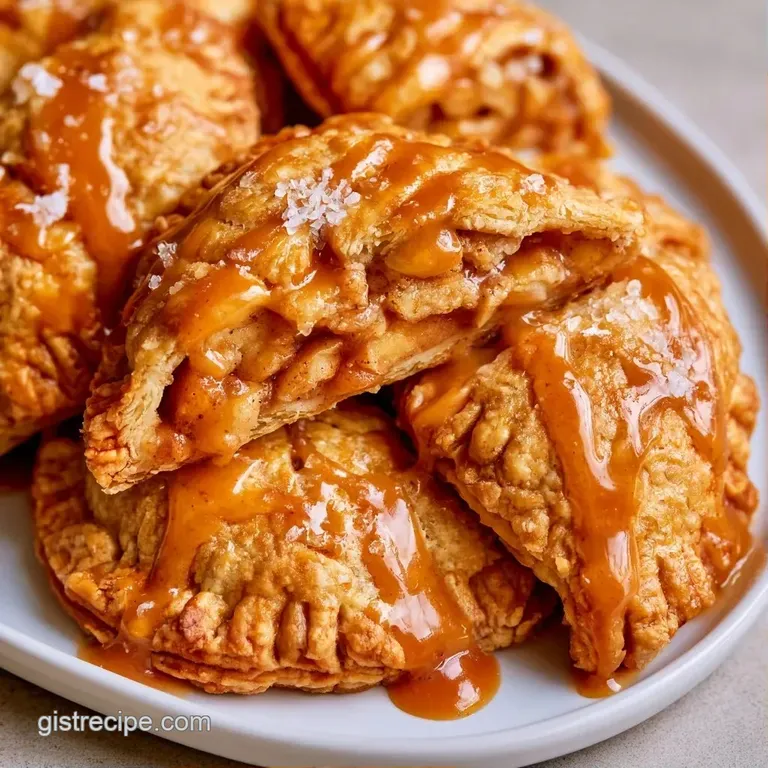
Minimal equipment is required here. All you really need are a medium saucepan for the filling and a rimmed baking sheet.
Parchment paper is essential. Because caramel is essentially liquid sugar, it will act like glue if it leaks onto your pan. I suggest using a fork to crimp the edges for a tighter seal than you'd get with your fingers. Finally, a sharp knife or a pizza cutter is ideal for slicing the pastry into neat 3x3 inch squares.
From Prep to Plate
Phase 1: The Quick Simmer Filling
- Melt the butter in a saucepan over medium heat, then stir in the diced apples, brown sugar, and cinnamon.
- Sauté for 5-7 minutes until the apples soften and a nutty aroma develops.
- Mix in the salt and cornstarch slurry (cornstarch combined with water). Stir continuously for 1 minute until the sauce transforms into a thick, velvety glaze.
- Remove the filling from the heat. Let it cool for 10 minutes Note: This prevents the pastry from melting too quickly.
Phase 2: Assembly and Sealing
- Bring your oven to 400°F (200°C) and line a baking sheet with parchment paper.
- On a floured surface, roll out the chilled puff pastry and cut it into 16 equal 3x3 inch squares.
- Place 1 heaping tablespoon of the cooled apple filling in the center of each square.
- Spoon 1 teaspoon of salted caramel sauce directly on top of the apple filling.
- Brush the edges with egg wash (beaten egg and water). Fold the dough over the filling and seal the edges by crimping them with a fork.
Phase 3: The High Heat Bake
- Dust the tops with sanding sugar. Bake for 25 minutes until the crust is golden brown and shatteringly crisp.
Fixing Common Problems
Leaking pies usually stem from overfilling. While adding extra apples is tempting, too much filling puts pressure on the seams as air expands. Adhere to the one tablespoon limit. If you spot a leak before baking, simply patch it with a small scrap of dough.
A pale crust is often the result of an insufficiently hot oven or an overly thin egg wash. Ensure your oven is fully preheated. If your pies are cooked through but lack color, move them to the top rack for the final 2 minutes.
For Bursting Pies
This typically occurs if the filling is too warm during assembly or the seal is weak. Ensure the filling is cool to the touch.
For Pale Crusts
This is generally a temperature issue. Confirm the oven is at a true 400°F.
For Soggy Bottoms
This happens when pies aren't baked on parchment lined sheets or the filling is too watery.
| Problem | Root Cause | Solution |
|---|---|---|
| Caramel Leaking | Overfilling or loose seal | Use 1 tbsp filling and double crimp edges |
| Pale Pastry | Low oven heat | Verify preheating; check actual heat |
| Soft Bottom | Filling too wet | Ensure cornstarch slurry boils for 1 minute |
Customizing Your Batch
If you want a different flavor profile, try adding a pinch of nutmeg or ground ginger to the apple mix. For a crunchier interior, fold in some finely chopped pecans after the filling has cooled.
You can also swap the salted caramel for a dollop of cream cheese or a smear of almond butter. If you have extra apples on hand, you could whip up some caramel apple sauce to serve on the side for dipping.
For those who prefer a different dough, you can use store-bought pie crust, though you'll lose that airy puff. Just roll it slightly thinner to avoid a doughy center.
Storage and Freezing
Store these in a tightly sealed container in the fridge for no more than 3 days. They can remain at room temperature for about a day, although the caramel might cause the pastry to soften.
To freeze, flash freeze the raw pies on a baking sheet for 2 hours before transferring them to a freezer bag. They'll keep for 2 months. When you're ready to enjoy them, bake straight from frozen, adding roughly 5-8 minutes to the total bake time.
Don't throw away the apple peels! You can boil them with a little water, cinnamon, and sugar to make a fast syrup for oatmeal or pancakes.
Serving and Pairing
These are delicious as is, but a light sprinkle of powdered sugar immediately after baking gives them a professional bakery finish. I love serving them warm alongside a scoop of vanilla bean ice cream.
For a drink, these pair wonderfully with a glass of apple pie moonshine for an adult twist. For kids, a cold glass of milk or warm apple cider is the ideal choice.
The salt in the caramel really stands out when paired with something creamy or slightly tart. A dollop of Greek yogurt or a drizzle of lemon glaze can help balance the richness of the caramel.
Recipe FAQs
What kind of dough is used for these hand pies?
Chilled puff pastry provides the ideal light and flaky texture.
Tip: keep the dough cold until the moment you roll it to ensure maximum lift.
Is it true that Red Delicious apples are ideal for this recipe?
No, and here's why. They break down too much when heated, whereas Granny Smith apples maintain their shape.
Tip: dice the apples finely to ensure they fit comfortably inside the pastry squares.
How to make the apple filling thick and velvety?
Stir in a cornstarch slurry and simmer for one minute until thickened.
Tip: if you loved the sweet tart balance in this recipe, see how we use a similar profile in our cinnamon sugar apple cake.
Which glaze creates that golden, shattering crust?
An egg wash topped with sanding sugar creates a professional finish.
Tip: crimp the edges firmly with a fork to prevent the caramel from leaking during baking.
Caramel Apple Hand Pies