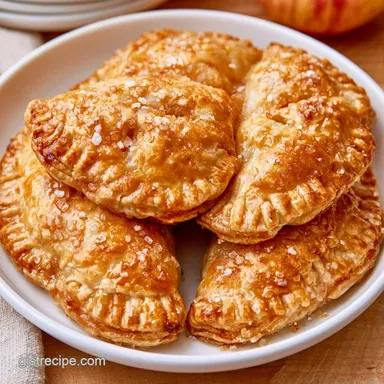
Failure-Proof Apple Hand Pies
- Time: 40 min active + 60 min cooling
- Flavor/Texture Hook: Shattering buttery crust with tart, jammy apples
- Perfect for: Easy dessert for crowds or kids' snacks
Quick and Easy Apple Hand Pies
That first scent of cinnamon hitting the hot butter is what gets me every time. There is something about the smell of simmering apples that just feels like a hug. I remember trying to make these with raw apple chunks years ago, only to end up with a soggy bottom that felt more like a wet sponge than a pastry.
It was a mess, but it taught me that the filling needs a bit of help before it hits the dough.
The real star here is the Granny Smith apple. I use them because they hold their shape under heat, unlike some softer varieties that basically dissolve into applesauce. When you pair that sharp tartness with a hit of sugar and cinnamon, you get a filling that tastes like a classic pie but fits in your hand.
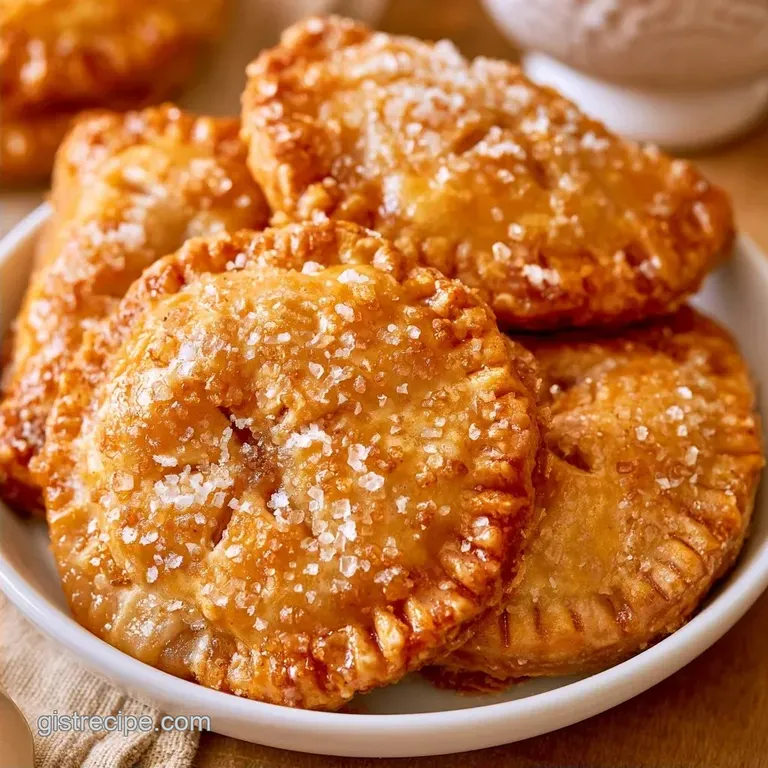
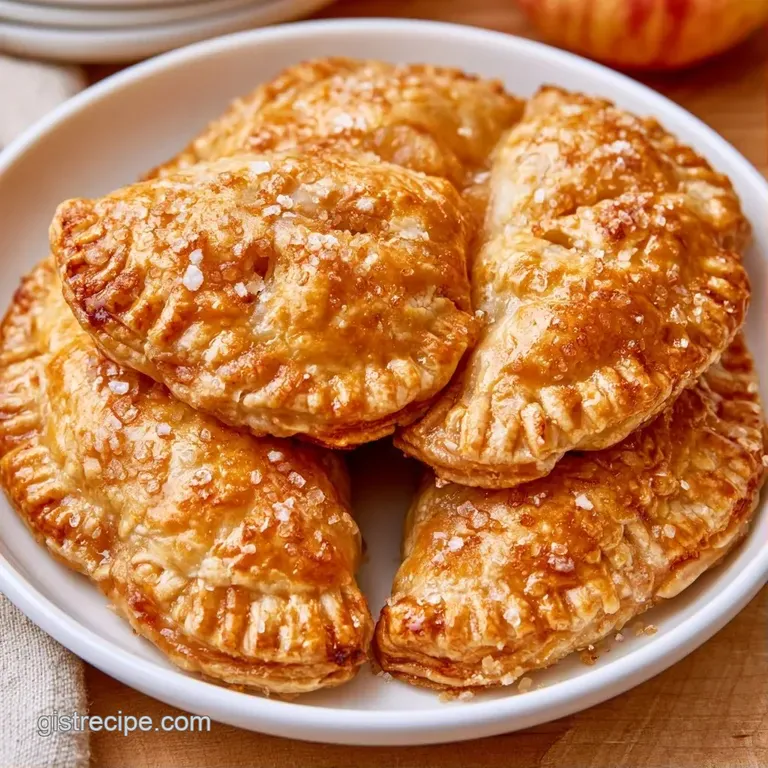
You can expect a treat that looks fancy but uses a few smart shortcuts. We are talking about a mahogany gold crust that cracks when you bite into it, with a center that is thick and glossy. These Apple Hand Pies are all about minimal fuss and maximum reward.
How These Pockets Stay Crisp
Pre Cooked Filling: Simmering the apples first removes excess water, so the crust doesn't absorb moisture and turn gummy.
Cold Dough: Keeping the refrigerated crust chilled until the last second ensures the butter stays solid, which creates those flaky layers.
| Method | Time | Texture | Best For |
|---|---|---|---|
| Fast (Refrigerated) | 1 hr 52 min | Flaky and consistent | Busy weeknights |
| Classic (Homemade) | 4+ hours | Richer, more buttery | Slow weekend baking |
The Ingredient Lineup
| Component | Purpose | Substitute Notes |
|---|---|---|
| Granny Smith Apples | Provide structure and tartness | Golden Delicious: Sweeter, slightly softer |
| Cornstarch | Thickens the apple juices | Arrowroot powder: 1:1 swap, slightly clearer |
| Egg Wash | Creates the golden brown shine | Milk or cream: Less shine, lighter color |
| Sanding Sugar | Adds a crunch to the top | Turbinado sugar: Bolder, crunchier crystals |
Filling and Crust
- 2 lbs Granny Smith or Golden Delicious apples, peeled and finely diced Why this? Holds shape during cooking
- 1/4 cup granulated sugar Why this? Balances the tart apples
- 1 tsp ground cinnamon
- 1 tbsp cornstarch Why this? Prevents the filling from running
- 1 tbsp lemon juice Why this? Keeps apples bright and adds zing
- 1 tbsp unsalted butter
- 2 packages (14.1 oz each) refrigerated pie crusts Why this? Saves hours of kneading
- 1 large egg, beaten
- 2 tbsp coarse sanding sugar
Tools for the Job
Minimal equipment is required for this recipe. A medium saucepan for the filling and a basic baking sheet are all you need. I use a 3 inch circular cutter, but the rim of a wide drinking glass works just as well. Be sure to use parchment paper to keep the sugar and egg wash from sticking to your pan.
From Prep to Plate
Phase 1: The Cinnamon Apple Reduction
- Melt the butter in a saucepan over medium heat.
- Stir in the diced apples, sugar, cinnamon, and lemon juice.
- Cook for 5-7 minutes until apples are tender but still hold their shape.
- Mix cornstarch with a teaspoon of water to make a slurry, then stir it into the pan.
- Simmer for 2 minutes until the sauce is thick and silky.
- Move the filling to a bowl and let it cool completely. Note: Hot filling will melt the crust immediately.
Phase 2: Shaping and Sealing
- Roll out the refrigerated pie crust on a lightly floured surface.
- Cut 3 inch circles using your cutter or a glass.
- Scoop 1 tablespoon of cooled filling into the center of each circle.
- Fold the dough over into a half moon shape.
- Press the edges firmly with a fork until a tight seal forms.
Phase 3: The Golden Bake
- Place the Apple Hand Pies on a parchment lined baking sheet.
- Brush the tops with beaten egg wash.
- Sprinkle the sanding sugar evenly over the tops.
- Bake at 400°F (200°C) for 12-15 minutes until the pastry is a deep mahogany gold.
Stopping Common Baking Glitches
Filling leaking from the sides is typically caused by overfilling. I once thought adding more filling improved the pie, but it really just forces the seals open. Maintain at least a quarter inch of clearance around the edge before folding.
Pale crusts usually result from a thin egg wash or an oven that isn't hot enough. Check that your oven has reached 400°F before you put the tray in.
Solving Leaky Fillings
If the edges pop open, it's usually a crimping issue. Press the fork tines firmly into the dough to lock the two layers together.
Avoiding Burnt Bottoms
If the bottoms are charred but the tops look perfect, your pan might be too thin. Try a heavy duty baking sheet or double up the parchment paper to provide a buffer.
| Problem | Fix |
|---|---|
| Filling is too runny | Simmer cornstarch slurry for an extra minute |
| Dough is sticking | Use more flour on the rolling surface |
| Pies are pale | Ensure egg wash is applied evenly |
| Crust is tough | Avoid over handling the dough |
Fun Flavor Variations
For those who like things a bit more rustic, try an Old Fashioned Apple Hand Pies feel by adding a pinch of ground cloves and nutmeg to the filling. It gives it that deep, autumnal warmth that reminds me of my grandmother's kitchen.
If you want to skip the pie crust entirely, you can use Apple Hand Pies with puff pastry. The puff pastry makes them much taller and airier, though you'll need to bake them a few minutes longer to ensure the center isn't raw.
For a vegan friendly swap, use a coconut oil based crust and replace the egg wash with a mix of maple syrup and soy milk. It doesn't give the same mahogany shine, but it tastes great. If you have a craving for something different with your apples, you might like these Apple Doughnuts for a softer texture.
Decision Shortcut
- For a crispier base: Bake on a preheated baking sheet.
- For a sweeter punch: Add 1 tablespoon of brown sugar to the filling.
- For an Air Fryer Apple Hand Pies version: Cook at 375°F for 8-10 minutes.
| Original Ingredient | Substitute | Why It Works |
|---|---|---|
| Sanding Sugar | Brown Sugar | Deep molasses flavor, though it melts faster |
| Lemon Juice | Apple Cider Vinegar | Similar acidity to prevent browning |
| Granny Smith | Honeycrisp | Sweeter and crunchier, but may release more juice |
Storage and Zero Waste
Store these Apple Hand Pies in a sealed container in the refrigerator for around 3 days. For that perfect crunch, skip the microwave and reheat them in a 350°F oven for 5 minutes.
These also freeze well; just freeze them on a tray first to stop them from sticking, then move them to a storage bag for up to 2 months.
Put your apple peels to use. I typically mix them with cinnamon and sugar, then air fry them at 350°F for 5 minutes until they become cinnamon chips. This is a perfect little snack to enjoy while the main batch bakes.
Serving Your Hand Pies
These are best served warm. I recommend pairing them with a bit of whipped cream or a scoop of vanilla ice cream. For an extra indulgent touch, drizzle some Caramel Apple Sauce over the top for additional sweetness.
To create a party platter, stack the treats in a pyramid and sprinkle them with powdered sugar. Since they are handheld, you can skip the plates to make cleanup easier. Just keep napkins nearby, as the filling can be quite jammy.
Chef's Note: If you're preparing these for a group, you can assemble them the evening before. Store them covered in the fridge and bake them fresh in the morning. Simply add an extra 2 minutes to the baking time because the dough will be colder.
Recipe FAQs
How to make apple hand pies from scratch?
Sauté diced apples with sugar, cinnamon, and lemon juice, then thicken with a cornstarch slurry. Once the filling cools, fold it into circles of refrigerated pie crust, seal the edges with a fork, and bake at 400°F for 12-15 minutes.
Which apple varieties work best?
Granny Smith or Golden Delicious are the top choices. These varieties maintain their structure and provide a tart contrast to the sugar during the baking process.
Is it true that Red Delicious apples are a good choice for filling?
No, this is a common misconception. These apples tend to become mealy and lose their shape when heated, unlike the firmer varieties recommended for baking.
Does a specific crust work best?
Refrigerated pie crusts offer the most consistent flakiness for this recipe. They save significant preparation time and ensure a uniform seal when pressing the edges with a fork.
Why is the filling so gooey?
The cornstarch slurry creates a thick, glossy binder. This technique ensures the juices encapsulate the fruit rather than soaking into the pastry.
What makes these different from regular pie slices?
Hand pies are individual, portable portions sealed on all sides. This makes them a great snack or breakfast option; for another quick morning treat, try these coffee cake muffins.
Apple Hand Pies