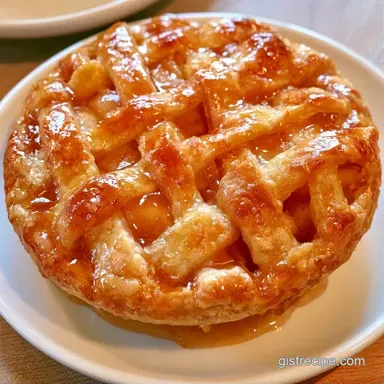
Flaky Apple Pie Crust from Scratch
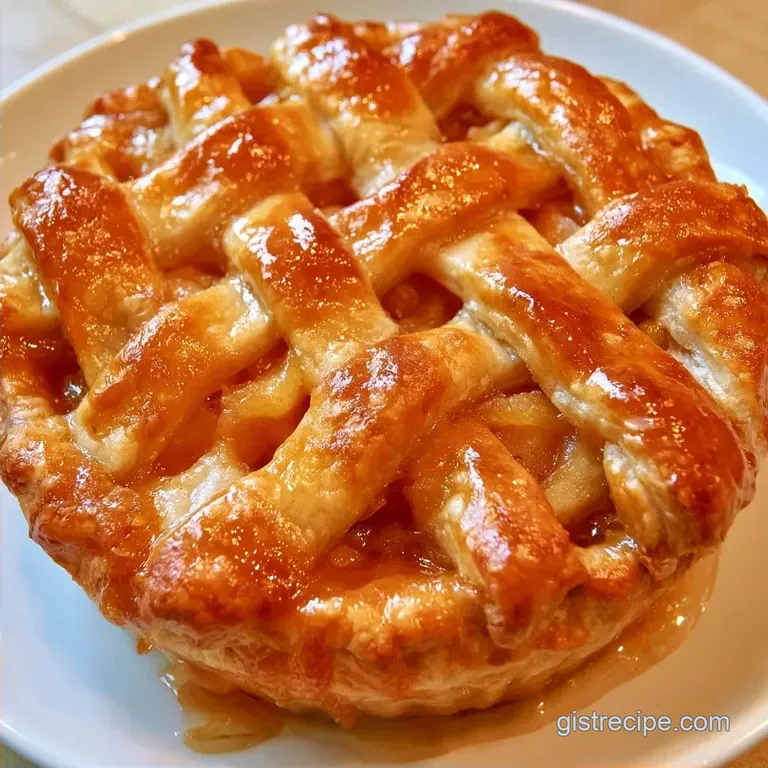
- Time: 20 min active + 1 hour chilling
- Flavor/Texture Hook: Shatteringly crisp and buttery
- Perfect for: Holiday gatherings or a cozy Sunday treat
The first thing you notice isn't the look, it's the sound. That distinct, sharp crack when your knife hits the golden edges of a fresh pie. For me, that sound is the only way to know if the butter was cold enough.
I used to struggle with dough that turned into a tough, bread like shell. I realized the issue was my hands, which are always too warm. Once I started using a fork and chilled my bowl, everything changed.
This Apple Pie Crust is designed to hold up under heavy, juicy fruit without turning into mush. It's a straightforward process that relies on temperature rather than fancy tools.
Making a Flaky Apple Pie Crust
The trick to a flaky result is avoiding a smooth dough. You want visible chunks of butter that don't fully merge with the flour.
Cold Butter: When cold fat hits a hot oven, the water inside evaporates and creates steam. This pushes the flour layers apart, creating those airy flakes.
Minimal Mixing: Overworking the dough develops gluten, which makes the crust chewy. Keeping the mix "shaggy" ensures the pastry stays tender. This same logic applies when making other fruit desserts, like Apple Doughnuts, where texture is everything.
Essential Kitchen Gear
You don't need high end bakery equipment to make this. A large mixing bowl and a fork are the only true essentials.
Using a pastry cutter will make cutting in the butter quicker, though a sturdy fork or two knives work just as effectively. A rolling pin is required to ensure the dough reaches a uniform thickness in your pie plate.
Finally, keep a baking sheet and plastic wrap on hand. These will help you shape the dough into a disk before it's placed in the fridge.
Your Shopping List
Butter is the star of the show here. For a richer finish, I recommend opting for a high fat European butter if available.
Ingredient Deep Dive
| Component | Purpose | Substitute Notes |
|---|---|---|
| All Purpose Flour | Provides the framework | Whole wheat: Nuttier, denser result |
| Unsalted Butter | Ensures flaky texture | Shortening: Better stability, less taste |
| Ice Water | Holds everything together | Apple cider: Light sweetness |
| Sea Salt | Offsets the richness | Kosher salt: Increase quantity slightly |
Full Ingredients List
- 2 ½ cups (310g) all purpose flour Why this? The protein content ensures a tender bite
- 1 tablespoon (12g) granulated sugar Why this? Assists in caramelization
- 1 teaspoon (6g) fine sea salt Why this? Brings out the butter's taste
- 1 cup (225g) unsalted butter, chilled and cubed Why this? Cold temperatures ensure flakiness
- 6 tablespoons (90ml) ice water Why this? Prevents fat from liquefying
- 1 tablespoon (15ml) egg yolk Why this? For a glossy, gold finish
- 1 teaspoon (4g) coarse sugar Why this? Provides a bakery style crunch
Substitution Options
| Original Ingredient | Substitute | Why It Works |
|---|---|---|
| Unsalted Butter | Vegetable Shortening | Higher melt point. Note: Lacks the flavor of butter |
| Ice Water | Cold Vodka | Limits gluten formation. Note: Produces an exceptionally tender crust |
| Egg Yolk | Heavy Cream | Comparable fat levels. Note: Result is slightly less gold |
Quick Recipe Stats
This Apple Pie Crust takes a bit of patience due to the chilling time, but the active work is minimal.
- Prep time:20 minutes
- Cook time:60 minutes
- Total time:2 hours 20 minutes
- Yield: 8 servings
Process Comparison
| Feature | Fast Method (No Chill) | Classic Method (This Recipe) |
|---|---|---|
| Texture | More crumbly/dense | Shatteringly flaky |
| Effort | Lower | Moderate |
| Stability | Shrinks more in oven | Holds shape well |
Simple step-by-step Process
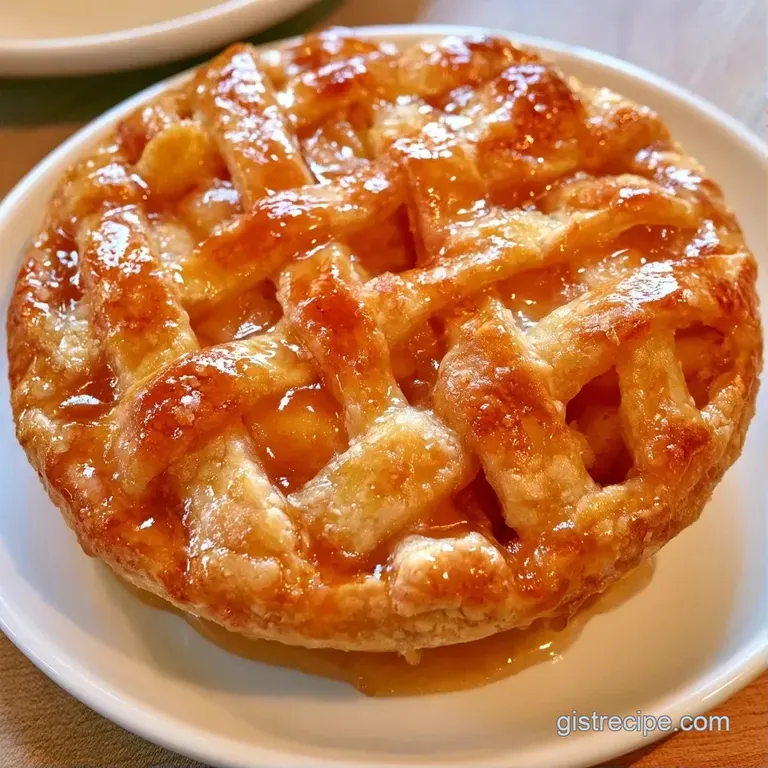
Preparing the Dry Base
Whisk together the flour, sugar, and salt in a large mixing bowl. Mix for about 30 seconds until the salt is evenly distributed.
Cutting in the Fat
Add the chilled, cubed butter to the flour. Use a pastry cutter or fork to work the butter into the flour until the mixture resembles coarse crumbs. Note: Leave pea sized lumps of butter visible.
Binding the Dough
Drizzle in the ice water, one tablespoon at a time. Toss gently with a fork after each addition until the dough just begins to hold together.
Chilling the Pastry
Form the dough into a disk and wrap it tightly in plastic. Chill in the refrigerator for 1 hour. Note: This relaxes the gluten and firms up the butter.
Rolling and Shaping
Roll out the dough to fit your pie dish. Carefully press it into the edges, leaving a slight overhang.
Adding the Finish
Add your fruit filling to the center. Brush the edges with egg yolk or heavy cream.
Final Garnish
Sprinkle the edges with coarse sugar. This creates a sparkling, crystalline finish.
Baking the Pie
Bake for 45-60 minutes until the crust is golden brown and the filling bubbles.
Fixing Pastry Problems
Fixing a Crumbly Dough
If the dough falls apart while rolling, it's too dry. Sprinkle 1 teaspoon of ice water over the surface and fold it in gently. Avoid kneading, or you'll lose the flakes.
Preventing a Soggy Bottom
The weight of the fruit can make the bottom soft. Try pre baking the bottom crust for 10 minutes or dusting the base with a teaspoon of flour before adding filling.
Stopping the Crust from Shrinking
Shrinking happens when the dough is stretched too thin or not chilled enough. Press the dough gently into the pan instead of pulling it, and ensure it has rested for the full hour.
Troubleshooting Summary
| Problem | Root Cause | Solution |
|---|---|---|
| Tough Crust | Over mixing/Kneading | Mix only until shaggy |
| Greasy Crust | Butter melted during prep | Chill dough or butter longer |
| Cracking | Not enough moisture | Add water 1 tsp at a time |
Storing Your Dough
Store this Apple Pie Crust in the refrigerator for 3 days. Use two layers of plastic wrap to ensure it doesn't absorb smells from other foods.
For extended storage, the freezer is your best option. Wrap the disk in plastic followed by foil to keep it fresh for 3 months. Thaw it in the refrigerator overnight before using. If you prefer to freeze and bake a frozen pie, ensure the dough is completely chilled prior to baking.
Save your leftover dough scraps instead of tossing them. Simply roll them into small balls and bake them with a dusting of sugar and cinnamon for a fast treat.
Different Crust Variations
Boosting Savory Notes
For a more sophisticated profile, swap the sugar in the dough for a dash of smoked paprika or black pepper. This is an excellent choice if you are preparing a savory tart instead of a sweet pie.
Sweetening the Crust
If you prefer a dessert like finish, stir a teaspoon of cinnamon or nutmeg into the flour. This pairs perfectly with a serving of Caramel Apple Sauce on the side.
Fat Substitutions
Try using a 50/50 mix of shortening and butter. This blend offers the rich taste of butter with the stability of shortening, which helps beginners roll the Apple Pie Crust more easily.
Whole Wheat Options
Substitute up to 1 cup of all-purpose flour with whole wheat pastry flour. It adds a nutty flavor but absorbs more moisture, meaning an additional tablespoon of water may be required.
Chef's Tip: Pop your butter in the freezer for 10 minutes before cubing it. This prevents the fat from softening while you mix the dough by hand.
Quick Customizations
- For a tender crumb: Substitute half the water with cold vodka.
- For a sturdier edge: Chill the rolled dough for 15 minutes before baking.
- For a deeper gold color: Use two egg yolks instead of one.
Best Ways to Serve
While a warm piece of pie is a timeless treat, the presentation is what makes it truly special. I enjoy serving this with a scoop of vanilla bean ice cream that slowly melts into the hot, flaky crust.
To achieve a more sophisticated look, explore various Apple Pie Crust patterns. Rather than a solid top, try a lattice design or small cut-outs of apples and leaves. These gaps allow steam to escape, which helps the filling set and thicken.
Lastly, let the pie rest for at least 30 minutes once removed from the heat. Cutting into it too soon will cause the filling to run, ruining the chance for a clean, professional looking slice.
Recipe FAQs
Which crust style is best for apple pie?
A flaky, butter based crust is ideal. If you enjoy exploring different dough textures, see how we handle specialized bases in our gluten free doughnuts.
Is it true that you must pre-bake the crust?
No, this is a common misconception. Baking the pastry and filling together prevents a soggy bottom and ensures the edges brown evenly.
What is the secret to maximum flakiness?
Keep your butter chilled and avoid over mixing. Leaving pea-sized lumps of butter creates steam pockets during baking, which lifts the dough into layers.
How do you create a top crust?
Roll out the second chilled dough disk to slightly exceed the pie dish size. Drape it over the filling and cut small vents to allow steam to escape.
Does every apple pie require a bottom crust?
Surprisingly, no. You can create a crustless pie or use a crumble base for a lighter dessert alternative.
Flaky Apple Pie Crust