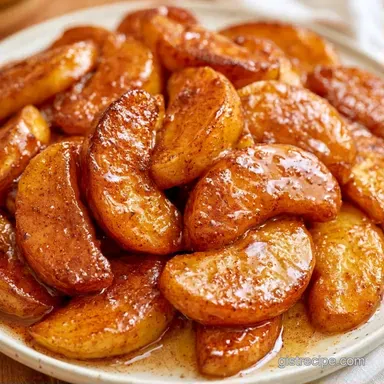
Apple Pie Filling with Lemon and Fresh Zest
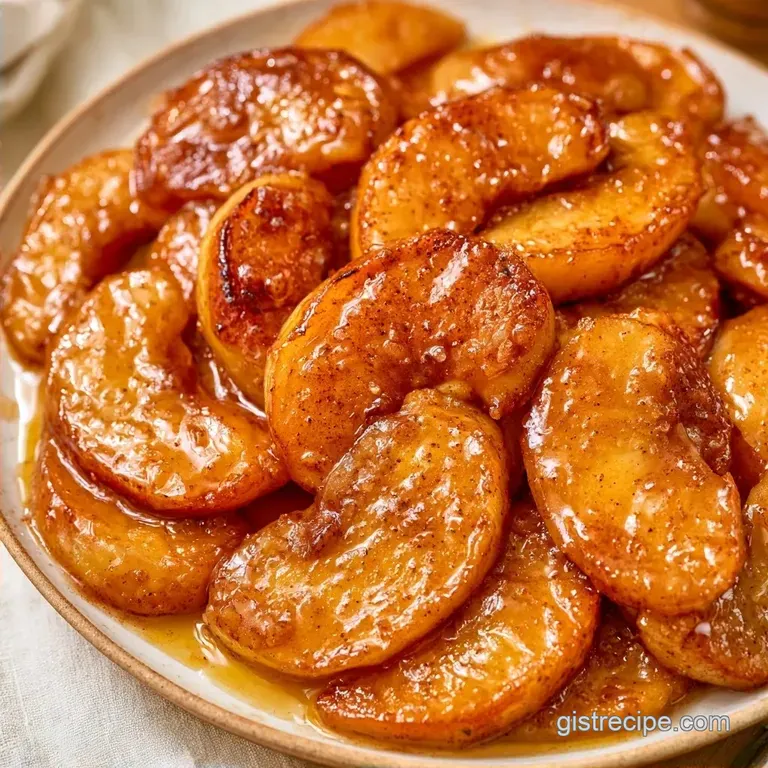
- Time: 15 mins prep + 10 mins on the stove
- Sensory Profile: Tangy and glossy
- Best for: Holiday pies, tarts, or topping pancakes
The scent of cinnamon hitting hot butter is enough to make anyone hungry, but the lemon is what actually makes this dish sing. I spent years making pies that appeared perfect on top but devolved into a watery soup inside. One Thanksgiving, the bottom crust was so soggy it practically slid off the plate.
It was a disaster, and I realized I had to stop simply mixing raw apples with sugar and hoping for a miracle.
I began experimenting with acidity and heat. The lemon doesn't just add a bit of zing; it controls how the apples break down. When you hit the right balance, you get slices that retain their shape but remain tender.
This Apple Pie Filling with Lemon provides that bright, professional contrast. It turns a dense dessert into something that feels light and fresh. Trust me, once you use the zest, you'll never go back to the bland alternatives.
Homemade Apple Pie Filling with Lemon
Here are the specifics. This recipe yields approximately 6 cups of filling, which fits a standard 9 inch pie, though it's equally suited for turnovers or galettes. Prep takes 15 minutes mainly for peeling and slicing and the cooking process takes about 10 minutes, making the total time 25 minutes.
By pre-cooking the fruit, you prevent that frustrating "gap" between the crust and the filling that typically occurs when apples shrink in the oven.
What Makes This Filling Work
- The Citrus Toss: Lemon juice stops the apples from turning brown and keeps the pectin stable so slices stay intact.
- Brief Sauté: Cooking the apples for a few minutes burns off excess moisture, meaning less liquid leaks into your crust.
The way these two steps work together prevents the filling from becoming a puddle. Serious Eats' testing shows that pre cooking fruit or using acidic additives helps maintain a better texture in the final bake.
| Method | Time | Texture | Best For |
|---|---|---|---|
| Raw Mix | 0 min | Soft/Juicy | Traditionalists |
| Quick Sauté | 10 min | Glossy/Intact | Non soggy crusts |
Ingredient Deep Dive
The choice of apple is the biggest factor here. You want something that doesn't turn into mush the second it hits the heat.
| Ingredient | What It Does | Best Swap |
|---|---|---|
| Granny Smith | Provides tartness and structure | Honeycrisp (sweeter) |
| Lemon Juice | Brightens flavor and keeps shape | Apple cider vinegar |
| Cornstarch | Thickens the juices into a glaze | Flour (use 1 extra tbsp) |
| Unsalted Butter | Adds richness and gloss | Coconut oil |
The Fruit Base
I stick with Granny Smith or Honeycrisp. If you use something like Gala, they'll dissolve too fast. You need that bite.
The Spiced Glaze
Brown sugar adds a deep, caramel note that granulated sugar alone misses. The cinnamon and nutmeg are classics, but the lemon zest is the real hero here, adding an aromatic layer that lifts the whole dish.
Tools You'll Need
This recipe requires only basic equipment, making cleanup quick and easy.
- Large Bowl: To toss the apples.
- Heavy Bottomed Skillet or Dutch Oven: A pan that distributes heat evenly so the butter doesn't scorch.
- Small Whisk: To blend the dry ingredients.
- Peeler and Knife: For the prep work.
Chef Note: If you own a food processor with a slicing disc, use it to cut your prep time from 15 minutes down to about 3.
The Cooking Process
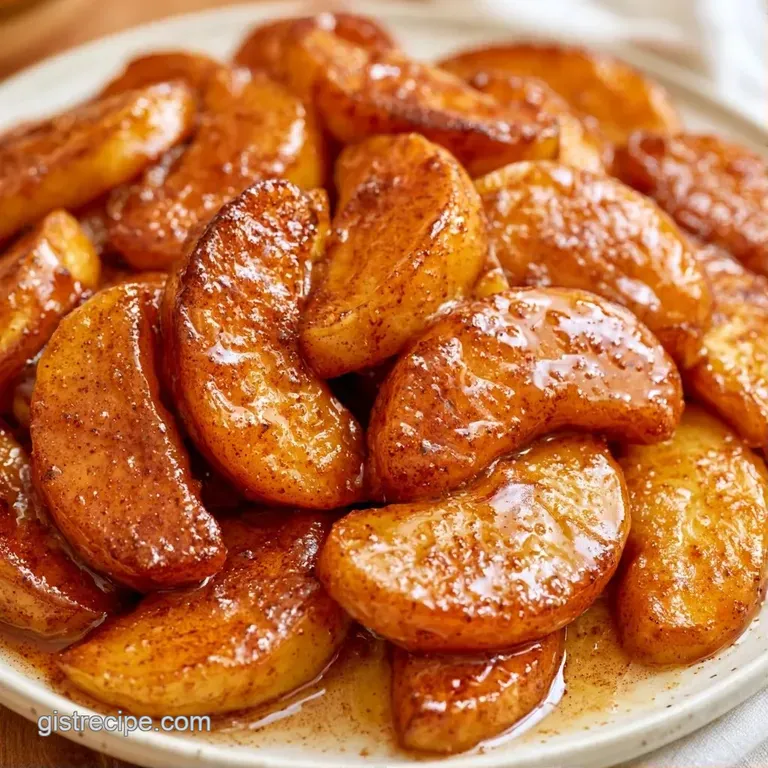
Let's crack on with the actual making. Follow these steps to get that glossy finish.
- Toss sliced apples. Put your apples in a bowl and stir in the lemon juice. Note: This prevents oxidation immediately. Let them sit for 5 minutes.
- Melt butter. Heat the butter in your skillet over medium heat.
- Sauté fruit. Add apples and lemon zest. Stir gently for 3–5 minutes until the apples are barely softened but still have a snap.
- Mix dry ingredients. In a separate small bowl, whisk the granulated sugar, brown sugar, cinnamon, nutmeg, salt, and cornstarch.
- Apply glaze. Sprinkle the sugar mix over the apples.
- Thicken juices. Stir constantly for 2–3 minutes until the sugar dissolves and the cornstarch activates into a velvety glaze.
- Remove from heat. Take the pan off the burner immediately.
- Cool completely. Let the filling reach room temperature before putting it in a crust. Note: Hot filling will melt your crust fats and cause a soggy bottom.
Troubleshooting Guide
Sometimes things go sideways in the kitchen. Usually, it's just a matter of the apple variety or the heat.
Fixing Watery Filling
If your filling looks like soup, you likely used a very juicy apple like Fuji. You can fix this by simmering it for another 2 minutes or adding a tiny bit more cornstarch slurry (1 tsp starch mixed with 1 tsp water).
Avoiding Mushy Apples
Mushy apples happen when the sauté step goes too long. The apples should be translucent on the edges but still firm in the center. Remember, they will cook more inside the oven.
Taming Too Much Tartness
If the lemon makes it too sour, add an extra tablespoon of brown sugar. This balances the acid without ruining the thickening process.
| Problem | Root Cause | Solution |
|---|---|---|
| Filling is runny | Too much moisture/low starch | Simmer 2 mins longer |
| Apples are mushy | Overcooked during sauté | Reduce sauté time to 3 mins |
| Taste is too sharp | Too much lemon juice | Add 1 tbsp brown sugar |
Dietary Adaptations
Feel free to customize this recipe to suit your taste without altering the primary flavor profile. To make the most of your seasonal harvest, these Apple Doughnuts are another wonderful option for extra fruit.
- For a plant based version: Use coconut oil or a vegan butter substitute instead of butter. This works equally well for the glaze.
- For a low sugar option: Substitute the sugars with a 1:1 monk fruit sweetener. Note: The glaze will be less glossy due to the lack of sugar caramelization.
- For a flavor twist: Stir in a splash of vanilla extract or a pinch of ground ginger during the sauté process.
- For a firmer set
- chill the filling for 2 hours instead of 30 minutes.
- For a sweeter taste
- use 100% Honeycrisp apples.
- For a tangier kick
- double the lemon zest.
Make-ahead and Leftover Tips
For the best results, prepare this filling a day in advance. This allows the spices to blend and the flavors to fully develop.
Refrigeration Keep the cooled mixture in an airtight glass container. It will last for 3-4 days. Because the glaze may thicken while chilled, stir it well before using.
Freezing This mixture remains good in the freezer for 3 months. Transfer it to a freezer safe bag, removing as much air as possible. Let it thaw in the refrigerator overnight prior to baking your pie.
Zero Waste Tips Instead of discarding the apple peels, coat them in cinnamon and sugar and bake at 350°F for 10 minutes for a tasty treat. You could also simmer them with a cinnamon stick to create a basic syrup for tea.
What to Serve This With
Although this is meant for a pie, it is remarkably flexible. I often whip up a double batch so I have plenty left over for breakfast.
It works beautifully spooned over vanilla ice cream or as a waffle topping. For a more filling option, pair it with my Caramel Apple Sauce for a platter full of autumn tastes.
If you are serving the pie, a slice of sharp cheddar cheese is a classic side that cuts through the sugar. A dollop of unsweetened whipped cream also helps offset the richness of the cinnamon lemon glaze.
Recipe FAQs
What does adding lemon to apple pie filling do?
It prevents the sliced apples from browning and adds a bright acidity. This balance cuts through the sweetness of the sugar and cinnamon.
Is it true that apple pie filling won't set without lemon juice?
Surprisingly, no. The cornstarch is what actually thickens the glaze, though lemon improves the overall color and flavor.
How to prevent a soggy bottom crust?
Cool the filling completely to room temperature before adding it to your pastry. This prevents the heat from melting the butter in the crust prematurely.
Why use a mix of granulated and brown sugar?
The granulated sugar provides a clean sweetness while the brown sugar adds a deep, molasses like richness. Together they create a more complex flavor profile.
Which apples work best for this filling?
Use Granny Smith or Honeycrisp for the best results. These varieties hold their shape during cooking and offer a tart contrast to the sugars.
What's the secret to getting a thick glaze?
Whisk cornstarch with the sugars and spices before sprinkling it over the fruit. Stir constantly for 2-3 minutes to create a velvety glaze; if you enjoyed mastering this texture control here, see how a similar thickening principle works in our creamy cashew sauce.
Does cooking the apples too long ruin the texture?
No, and here's why. You only need to stir the apples for 3-5 minutes until they are barely softened to ensure they don't turn into applesauce during the final bake.
Apple Pie Filling With Lemon