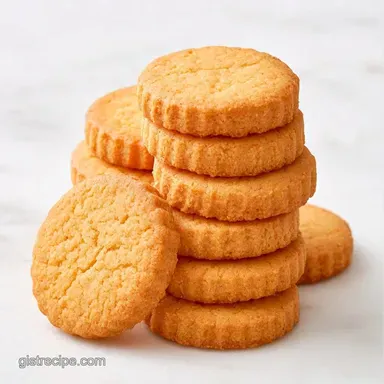
Snap Crisp Fairy Wand Biscuits
- Time: 30 min active + 1 hour chilling
- Flavor/Texture Hook: Snap crisp butter biscuit with sweet, glossy icing
- Perfect for: Kids' parties or themed celebrations
The scent of toasted butter and vanilla always wafts through my kitchen when these are baking. There is something incredibly soothing about the sound of countless tiny nonpareils raining down onto wet icing. It is total chaos across the counter, but the final look is pure boutique bakery.
I first whipped these up for my niece's fifth birthday. I spent far too much time worrying that the stars would melt into blobs in the oven. After some experimenting, I found that the chill of the dough is exactly what preserves those sharp points.
These Fairy Wand Biscuits are effectively a heartier version of a sugar cookie. They are sturdy enough to support the lollipop stick and the heavy icing without snapping. Trust me, anyone can master these.
Why This Recipe Works
Cold Fat: Chilling the butter in the dough prevents it from melting too fast. This stops the stars from spreading into blobs.
High Flour Ratio: Using a bit more flour than a standard cookie creates a snap crisp texture. This makes the Fairy Wand Biscuits sturdy enough to act as actual wands.
Meringue Powder: This stabilizes the icing so it dries hard. It prevents the sprinkles from sinking or the icing from sliding off the cookie.
| Method | Time | Texture | Best For |
|---|---|---|---|
| Oven Bake | 16 min | Snap crisp | Large batches |
| Air Fryer | 10 min | Slightly softer | 2-4 cookies |
Why These Ingredients Work
| Ingredient | Role | If You Don't Have It |
|---|---|---|
| Unsalted Butter | Provides richness and structure | Margarine (cheaper, slightly oilier) |
| Meringue Powder | Hardens the icing | Egg white powder (similar result) |
| All Purpose Flour | Gives the biscuit its "snap" | gluten-free blend (will be more fragile) |
Fairy Wand Biscuits Specs
These treats rely on a few budget friendly staples. You can find most of these at any local grocery store without spending a fortune. If you are on a tight budget, using store brand butter and sugar works just as well here.
The cost per cookie is very low since you are mostly using flour and sugar. The most "expensive" parts are the lollipop sticks and the gel colors, but those can be reused or bought in bulk.
The Shopping List
For the Biscuits:
- 1 cup (225g) unsalted butter, softenedNote: This ensures the butter creams more effectively with the sugar
- ¾ cup (150g) granulated sugar
- 1 large egg
- 1 tsp (5ml) vanilla extract
- 2 ½ cups (315g) all-purpose flour
- ½ tsp (3g) baking powder
- ¼ tsp (1.5g) salt
For the Icing:
- 3 cups (360g) powdered sugar, siftedNote: Sifting ensures the icing stays smooth and lump free
- 2 tbsp (30ml) meringue powder
- 4 tbsp (60ml) warm water
- 1 tsp (5ml) vanilla extract
- ½ cup (60g) rainbow nonpareils
Extras: - 42 lollipop sticks (6 inch) - Gel food coloring
Tools You'll Need
This process is quite simple. A standard handheld mixer and mixing bowls are sufficient, although a stand mixer will speed up the creaming. For the shapes, I use a 2 inch star cutter. If you lack one, a small round cutter works just trim the edges with kitchen shears before baking.
You will also need parchment paper to prevent the cookies from sticking.
Making Fairy Wand Biscuits
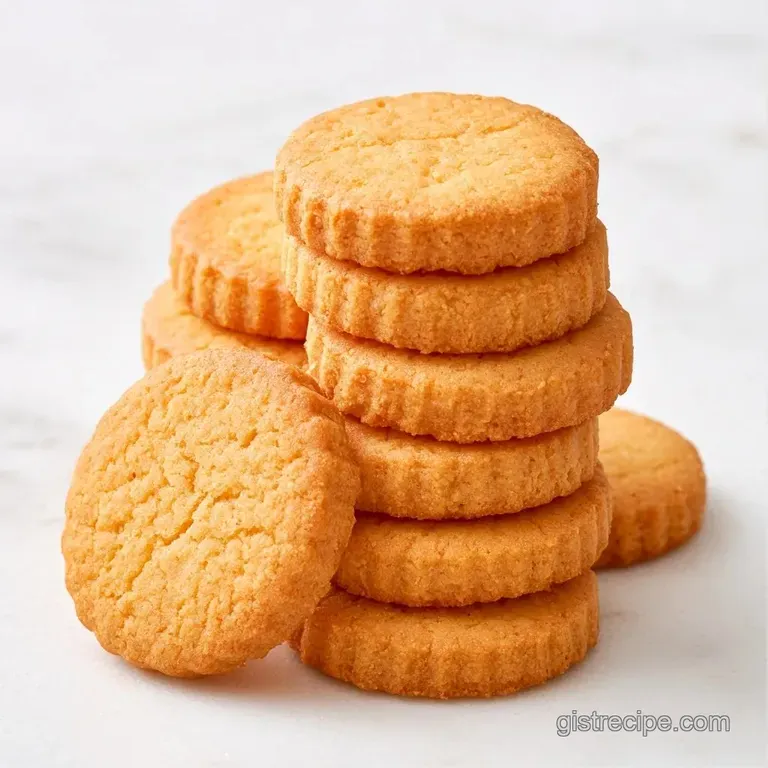
1. Preparing the No Spread Dough
Cream together the softened butter and granulated sugar until light and fluffy. Beat in the egg and vanilla extract. In a separate bowl, whisk the flour, baking powder, and salt. Gradually add the dry ingredients to the wet, mixing on low until a cohesive dough forms.
Wrap the dough in plastic wrap and flatten it into a disk. Put it in the fridge for 1 hour. This is the most important part of the Fairy Wand Biscuits recipe because it ensures the shapes don't warp.
2. Cutting and Baking
Heat your oven to 350°F (175°C). Roll the chilled dough on a floured surface until it is exactly ¼ inch (6mm) thick. Cut out stars using your cutter and place them on parchment lined sheets.
Bake for 12-16 minutes until the edges are a pale mahogany gold. Don't overbake them, or they will become too brittle to hold the sticks.
3. Setting the Wands
Immediately after removing the tray from the oven, gently press a lollipop stick into the base of each star. Do this while they are still hot. Let the Fairy Wand Biscuits cool completely on the tray before you even think about icing them.
4. Mixing the Icing
Whisk the powdered sugar, meringue powder, and vanilla. Add warm water one tablespoon at a time. Keep mixing until the icing reaches a flood consistency. It should flow slowly, similar to honey.
5. Adding Color and Decorating
Divide the icing into small bowls and stir in your gel food coloring. Pipe a border around the edge of each star, then fill in the center. Quickly cover the wet icing with rainbow nonpareils before it sets.
Allow the finished Fairy Wand Biscuits to dry for 4-6 hours. If you try to move them too soon, the icing will smudge.
Fixing Common Issues
Fixing Rounded Star Points
Rounded star points are usually the result of butter that is too warm, causing the fat to melt rapidly and the edges to collapse during baking. To prevent this, ensure your dough is chilled before it enters the oven. For cookies already baked, you can neaten the edges using a paring knife while they remain warm.
Dealing with Runny Icing
Glaze that runs off the cookie typically contains too much water. To thicken it, gradually stir in additional powdered sugar until the consistency reaches a pourable state that still maintains a soft peak.
Stopping Stick Slippage
Popsicle sticks tend to slip out if added after the cookies have cooled. Inserting them while the biscuit is hot allows the stick to seat properly into the dough. Should a stick become loose, a small dot of royal icing works perfectly as an adhesive to secure it.
Different Flavor Ideas
Customizing these treats is simple. For a chocolate version, substitute ¼ cup of flour with cocoa powder. To give them a citrusy lift, fold a teaspoon of lemon zest into the dough.
If you're putting together a bigger spread, these balance well with savory options. For a full brunch, my sausage gravy and biscuits are a fantastic companion.
Sparkle Variations
Instead of rainbow nonpareils, try silver dragées or gold sanding sugar for a more "magical" effect. You can also use white icing topped with a single large star sprinkle in the center.
Diet Swaps
To make these dairy-free, use a high-quality plant based butter stick. Avoid margarine from a tub, as its higher water content can cause the Fairy Wand Biscuits to spread during baking.
Scaling Your Batch
For smaller batches, you can cut the ingredients in half. Use a smaller baking tray and reduce the bake time by about 2 minutes. To handle the egg, whisk one in a small bowl and measure out roughly 2 tablespoons.
When doubling the recipe for a large gathering, don't just double the baking powder. Use 1.5x the baking powder and salt to prevent a metallic taste. Work in batches to keep the dough from getting too warm while you are cutting the stars.
| Goal | What to change |
|---|---|
| More "Snap" | Add 2 tbsp more flour |
| Softer Bite | Reduce bake time by 2 mins |
| Brighter Color | Use gel instead of liquid dye |
Keeping Them Fresh
Store your Fairy Wand Biscuits in an airtight container once the icing is fully hard. They stay fresh at room temperature for about 5 days. Just make sure they aren't touching each other, or the icing might stick.
You can freeze the baked, un iced stars for up to 2 months. Wrap them tightly in foil and plastic wrap. When you're ready to decorate, let them thaw at room temperature for 30 minutes. You might even pair them with other homemade biscuits for a mixed party platter.
For zero waste, don't toss the dough scraps. Gather them up, re roll them, and cut out more stars. You can do this 2 or 3 times before the dough gets too overworked and tough.
Serving Your Treats
The best way to present these is standing up in a jar or a decorative vase. This shows off the colors and the star shapes. If you are serving them at a kids' party, you can wrap the sticks in colorful ribbons for an extra touch.
Since these are quite sweet, they go best with something neutral. A glass of cold milk or a light herbal tea balances the sugar from the royal icing.
For a more adult version of the Fairy Wand Biscuits, use a sophisticated color palette like navy blue and gold icing. Use a pinch of sea salt on top of the icing before adding the sprinkles to cut through the sweetness.
Chef's Note: To get that professional "flood" look with the icing, let the piped stars sit for 2 minutes before adding the sprinkles. This lets the icing settle and create a smooth, velvety surface.
Recipe FAQs
Are Fairy Wand Biscuits a good choice for a kid-friendly treat?
They are perfect because they combine simple baking with colorful decorating. Kids love adding the lollipop sticks and raining nonpareils over the icing.
How to keep the star shapes from spreading?
Chill the dough for one hour before rolling. This keeps the butter cold so the points of the stars stay sharp while baking.
Is it true that you need professional equipment to get a glossy icing finish?
Surprisingly, no. A simple whisk and the right ratio of powdered sugar and meringue powder create a boutique look.
Why do the cookies need to dry for several hours?
This time allows the royal icing to set completely firm. It ensures the rainbow nonpareils stay in place and the cookies don't stick together.
Fairy Wand Biscuits