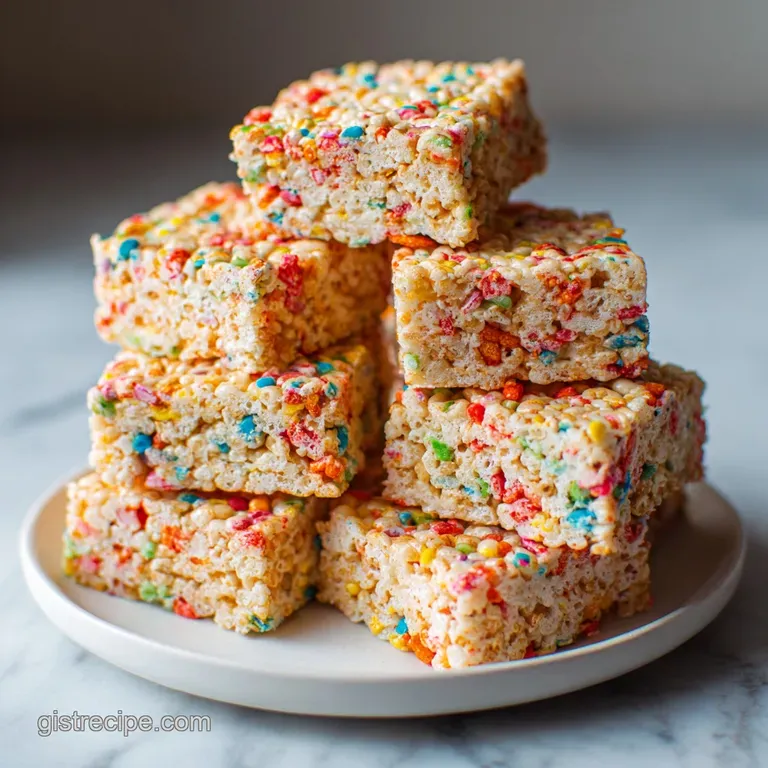
Gluten Free Rice Crispy Squares: Cloud-Like Texture
- Time: Active 10 minutes, Passive 5 minutes, Total 15 minutes
- Flavor/Texture Hook: Shatter crisp cereal meets velvety, pull apart marshmallow fluff
- Perfect for: School bake sales, last minute movie nights, or beginner gluten-free bakers
- Perfect Rice Crispy Squares Gluten Free
- Recipe Timing and Measurements
- Essential Ingredients and Substitutions
- Recommended Kitchen Equipment
- Mixing and Assembly Guide
- Solving Texture Issues and Common Preparation Hurdles
- Creative Flavor Variations
- Storing and Saving Leftovers
- Ideas for Pairing and Enjoying Your Squares
- Recipe FAQs
- 📝 Recipe Card
Perfect Rice Crispy Squares gluten-free
Imagine the sound of 160 grams of crispy rice hitting a glass bowl that sharp, rhythmic shatter that promises a satisfying crunch. Then, the smell of 85 grams of butter hitting the pan, bubbling just slightly before it meets the vanilla.
I remember the first time I made these for a friend's birthday; I just grabbed a blue box of cereal thinking "rice is rice, right?" Wrong. I spent the whole night realizing that most mainstream rice cereals use barley malt, which is a massive gluten red flag.
That mistake taught me that making rice crispy squares gluten-free isn't just about the cereal; it's about the intention. We want that nostalgic, stretchy, gooey bar that doesn't require a dental appointment after one bite.
I’ve spent many rainy Sunday afternoons in my kitchen, spatula in hand, figuring out why some bars turned into bricks by Tuesday while others stayed soft. It all comes down to how you treat those marshmallows and how much pressure you apply to the pan.
This is the ultimate "gist" of no bake treats. It’s fast, it’s low cleanup, and it’s genuinely better than anything you can buy in a wrapper. We're going for a texture that's light enough to feel like a cloud but sturdy enough to hold a drizzle of semi sweet chocolate.
If you've been disappointed by dry, crumbly gluten-free snacks before, this is the recipe that changes the narrative in your kitchen.
Recipe Timing and Measurements
When we talk about "fast," we really mean it here. You are only looking at 10 minutes of prep and 5 minutes of actual stovetop time. But those 5 minutes are high intensity for your attention.
You can't walk away to check your phone because the difference between "melted perfection" and "burnt sugar" happens in about thirty seconds. I always set a timer for the cooling phase too, because if you cut them too early, you end up with a delicious but messy pile of goo instead of clean squares.
Most people underestimate the "passive" time. While the total time says 15 minutes, you really need that 30 minute rest at room temperature to let the sugars stabilize.
If you try to rush it by putting them in the fridge, you’ll shock the butter and end up with a different, firmer texture than we're aiming for. It's all about patience once the mixing is done.
Achieving a Soft Chew
The Marshmallow Reserve: By saving 2 ounces of marshmallows to fold in at the very end, you create little "pockets" of un melted joy that keep the bars flexible. This prevents the entire batch from turning into a singular, over cooked sugar block as it cools.
Thermal Residual Cooking: Taking the pot off the heat when the marshmallows are only 90% melted prevents the sugar from reaching the "hard ball" stage. This ensures the binder stays velvety and soft even three days later.
| Servings | Ingredient Adjustments | Pan Size | Cook Time |
|---|---|---|---|
| 8 people | 42g butter, 141g marshmallows, 80g cereal | 8x4 loaf pan | 4 minutes |
| 16 people | 85g butter, 283g marshmallows, 160g cereal | 9x9 inch pan | 5 minutes |
| 32 people | 170g butter, 566g marshmallows, 320g cereal | 9x13 inch pan | 8 minutes |
Using the right pan size is honestly half the battle. If you put a 16 serving batch into a massive 9x13 pan, your squares will be thin and lose their chewiness much faster. I prefer the 9x9 inch pan because it gives you that thick, chunky "bakery style" height that feels much more indulgent when you're biting into it.
Component Deep Dive
| Ingredient | Science Role | Pro Secret |
|---|---|---|
| Unsalted Butter | Fat barrier | Use high-quality butter for a richer, toasted aroma. |
| Mini Marshmallows | Binding agent | Freshness matters; old marshmallows don't melt smoothly. |
| Fine Sea Salt | Flavor balancer | Salt cuts the sugar and highlights the vanilla. |
| GF Rice Cereal | Structural base | Look for "certified gluten-free" to avoid cross contamination. |
Essential Ingredients and Substitutions
To get this right, you need to be specific about your components. Not all "crispy rice" is created equal. You want the ones that are specifically labeled gluten-free, usually made with brown rice or white rice without the barley malt extract.
The mini marshmallows are also easier to work with than the jumbo ones because they melt evenly and quickly, which is crucial for maintaining that soft texture we just talked about.
- 6 tbsp unsalted butter (85g): This provides the fat that keeps the cereal crisp. Why this? Salted butter varies too much in sodium; unsalted gives you total control.
- Sub: Vegan butter sticks (ensure they have a high fat content, not tub margarine).
- 10 oz gluten-free mini marshmallows (283g): These are the "glue" of the recipe. Why this? Mini versions melt faster, preventing the butter from browning too much.
- Sub: Vegan marshmallows (note: these often require slightly more heat to melt).
- 1 tsp pure vanilla extract: Adds a floral, bakery style depth. Why this? Real vanilla beats imitation every time for no bake treats.
- Sub: Almond extract (use only 1/4 tsp as it is very strong).
- 1/4 tsp fine sea salt: The secret weapon against "one note" sweetness. Why this? Fine grains dissolve instantly into the melted butter base.
- Sub: Kosher salt (use 1/2 tsp as the grains are larger).
- 6 cups gluten-free crispy rice cereal (160g): The heart of the treat. Why this? Provides the essential "shatter" crunch we crave.
- Sub: Puffed quinoa or puffed rice (will result in a softer, less "crispy" bar).
- 1/2 cup semi sweet gluten-free chocolate chips (90g): For the optional drizzle. Why this? Semi sweet balances the high sugar content of the marshmallows.
- Sub: Milk chocolate chips or a peanut butter melt.
Recommended Kitchen Equipment
You don't need a professional kitchen, but a large non stick pot is your best friend here. I’ve tried using stainless steel, and while it works, you end up leaving about half a serving of marshmallow stuck to the bottom of the pan.
A heavy bottomed Dutch oven is also great because it holds heat evenly, meaning you can turn the stove off sooner and let the residual heat do the work.
A silicone spatula is non negotiable. If you try to use a wooden spoon, the marshmallow will cling to it like a magnet. I usually give my spatula a quick spray with non stick cooking oil before I start it makes the folding process so much smoother.
Also, make sure you have your parchment paper ready before you even turn on the stove. This recipe moves fast once the melting starts.
Mixing and Assembly Guide
- Line a 9x9 inch baking pan with parchment paper, making sure you have an overhang on the sides. Note: This acts as a "sling" so you can lift the whole block out later.
- Melt 85g of unsalted butter in your large pot over the lowest possible heat. Watch for the butter to just turn liquid without bubbling or browning.
- Stir in 1/4 tsp fine sea salt and 1 tsp vanilla extract into the butter. Note: Adding flavors to the fat ensures they distribute evenly through the cereal.
- Add 8 ounces (about 227g) of the mini marshmallows to the pot. Stir constantly with your greased spatula until they are 90% melted and look like a soft cloud.
- Immediately remove the pot from the heat source. The mixture should still have a few small lumps.
- Quickly fold in 160g of gluten-free rice cereal and the remaining 2 ounces of whole mini marshmallows. Keep folding until every grain is glistening.
- Gently transfer the mixture into your prepared 9x9 inch pan. Note: Use a light touch here; do not pack it down like you're building a wall.
- Press the top very lightly just to level it out. It should look textured, not flat and compressed.
- Optional step: Melt 90g of chocolate chips in the microwave (30 second bursts) and drizzle over the top.
- Allow the squares to sit at room temperature for 30 minutes until they feel firm to a light touch before slicing into 16 squares.
Solving Texture Issues and Common Preparation Hurdles
The most common heartbreak with this recipe is a treat that's too hard. It’s almost always caused by heat. If you boil the butter or keep the marshmallows on the heat for too long, the sugar structure changes. It goes from "soft caramel" to "hard candy" territory. Once that happens, there's no going back.
Always err on the side of "not enough heat" the cereal is warm enough to finish melting any tiny stubborn marshmallow bits.
Another issue is the bars falling apart. This usually happens if the cereal to marshmallow ratio is off or if you didn't stir enough. You want every single piece of rice cereal to be coated in that sticky sheen. If you see dry spots, keep folding! The marshmallows act as the mortar in this delicious brick less wall.
Why are my squares hard?
If your bars feel like they could break a window, you likely overcooked the marshmallow mixture. Sugar is temperamental. When it's heated too much, it loses moisture and crystallizes into a hard structure. Another culprit is packing the mixture into the pan too tightly.
You want to "tuck them in," not "squish them down."
Why are they falling apart?
This usually means the marshmallow wasn't melted enough to create a cohesive bond, or the marshmallows were old and had lost their moisture. Fresh marshmallows have a specific elasticity that creates those iconic "strings" when you pull a bar apart.
| Problem | Root Cause | Solution |
|---|---|---|
| Rock hard squares | Too much heat/compression | Use lowest heat and don't press down in the pan. |
| Soggy cereal | Humidity or poor storage | Keep cereal sealed until use; store treats airtight. |
| Sticky mess | Not enough cooling time | Wait the full 30 minutes before trying to slice. |
Common Mistakes Checklist - ✓ Never use high heat; low and slow is the only way for marshmallow. - ✓ Don't skip the salt; it's what makes the flavor "pop." - ✓ Use fresh marshmallows; if the bag has been open for a month, buy a new one.
- ✓ Avoid the fridge for cooling; room temperature preserves the best texture. - ✓ Grease your hands or spatula with a tiny bit of butter to prevent sticking.
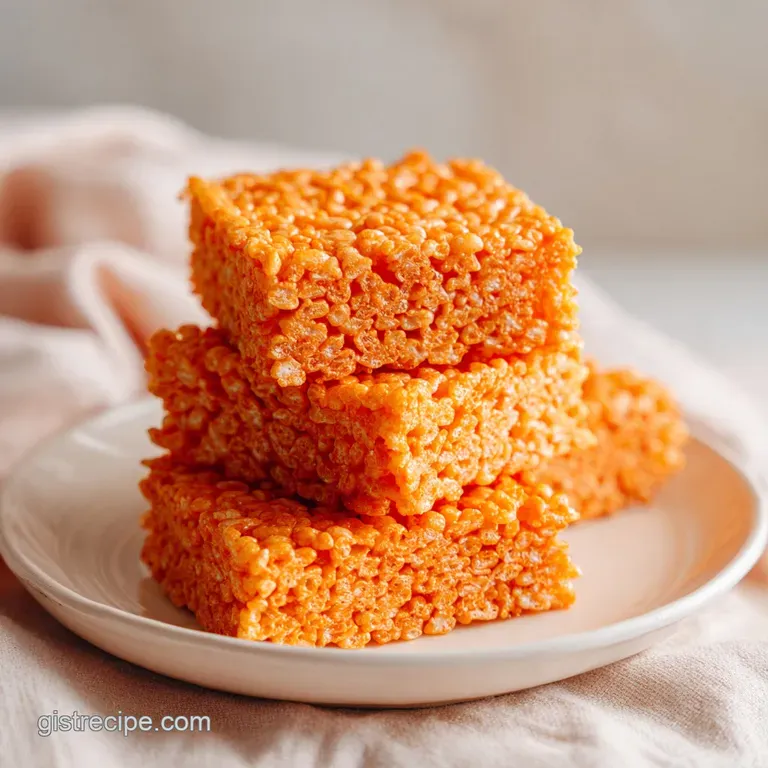
Creative Flavor Variations
Once you've mastered the classic, you can start playing around. I love adding a tablespoon of nut butter to the melted marshmallow mixture for a protein boost it makes them taste like a certain famous peanut butter cup.
If you're feeling fancy, browning the butter first (just until it smells nutty and has little brown specks) adds a sophisticated depth that adults tend to go crazy for.
If you are looking for more treats to add to a lunchbox, you might also like my gluten-free zucchini bread which offers a nice contrast to the sweetness here. For a dairy-free version of these squares, you just need a good quality plant based butter. Most marshmallows are naturally gluten-free and dairy-free, but always check the label for gelatin if you're looking for a vegan option.
dairy-free Adaptation
Simply swap the 85g of butter for a vegan butter stick. Look for brands that are oil based (like avocado or olive oil blends) rather than water based spreads. The water based ones can make the cereal soggy because they evaporate differently.
The flavor remains almost identical, especially with the vanilla and salt doing the heavy lifting.
Double Chocolate Ideas
For the chocolate lovers, you can stir 1/4 cup of cocoa powder into the melted butter before adding the marshmallows. Then, fold in the chocolate chips at the very end with the cereal so they don't completely melt, giving you little bursts of chocolate in every bite.
It turns a simple snack into something that feels like a decadent dessert platter.
Storing and Saving Leftovers
Storage is where most people lose the battle. These treats are at their peak for the first 24 hours, but they’ll stay good for up to 4 days if you treat them right. The enemy here is air.
I recommend wrapping individual squares in plastic wrap or placing them in a very tight sealing glass container. If you leave them on a plate on the counter, they’ll be stale by morning.
As for zero waste, if you have crumbs at the bottom of the pan or a few pieces that got a bit too hard, don't throw them away! I crush them up and use them as a topping for vanilla ice cream. The "marshmallow butter" dust is basically kitchen gold. You can also freeze these for up to 2 months.
Just layer them with parchment paper in a freezer bag. When you're ready to eat, let them thaw at room temperature for about 20 minutes.
Ideas for Pairing and Enjoying Your Squares
These squares are the ultimate "social" food. They fit perfectly on a brunch spread alongside some gluten-free bread machine toast and fresh fruit. They also make a fantastic afternoon energy boost when you're hit with that 3 PM slump. I like to serve mine with a cold glass of almond milk or a hot cup of coffee the bitterness of the coffee cuts right through the sweetness of the marshmallow.
If you're making these for a party, try cutting them into tiny 1 inch "bites" and putting them in mini cupcake liners. It makes them look much more "professional" and easier for people to grab without getting sticky fingers.
However you serve them, remember that the best part of these treats is the nostalgia they bring. There's something about that gooey, crispy texture that makes everyone feel like a kid again, regardless of whether they're eating gluten or not.

Recipe FAQs
Do rice krispie squares have gluten in them?
Not inherently, but you must be careful with ingredients. Standard crispy rice cereals often contain malt flavoring derived from barley, which is not gluten-free, so always look for certified gluten-free labeled cereals.
Which brands of Rice Krispie treats are gluten-free?
Most major national brands are not gluten-free. You should specifically purchase cereals labeled as gluten-free to ensure they were processed in a facility without wheat contamination.
Why are Rice Krispies no longer gluten-free?
This is a common misconception; they never were. The original version has always contained malt, which is a gluten containing ingredient, making it unsuitable for a gluten-free diet.
Is rice Squares cereal gluten-free?
Some, but not all, are safe. Always verify the ingredient list on the specific box for malt or other gluten based additives before using it as a substitute for our official ingredients.
How to keep these treats from getting too hard?
Press the mixture into your pan very lightly. Compressing the cereal too firmly is a common mistake that ruins the light texture; if you mastered this technique of delicate handling, you will achieve the perfect airy crunch.
How to store leftovers so they stay fresh?
Seal them in an airtight glass container immediately after cooling. Exposure to air is the primary cause of staleness, so wrapping individual squares in plastic wrap also works effectively to maintain their texture for up to four days.
How to fix the texture if they sit out too long?
Crush any hard or stale pieces to use as a dessert topping. Stale squares are excellent when crumbled over vanilla ice cream, so do not discard them if they lose their initial softness.
gluten-free Rice Crispy Squares

Ingredients:
Instructions:
Nutrition Facts:
| Calories | 159 calories |
|---|---|
| Protein | 1.2 grams |
| Fat | 6.0 grams |
| Carbs | 26.3 grams |
| Fiber | 0.6 grams |
| Sugar | 14.2 grams |
| Sodium | 62 milligrams |
