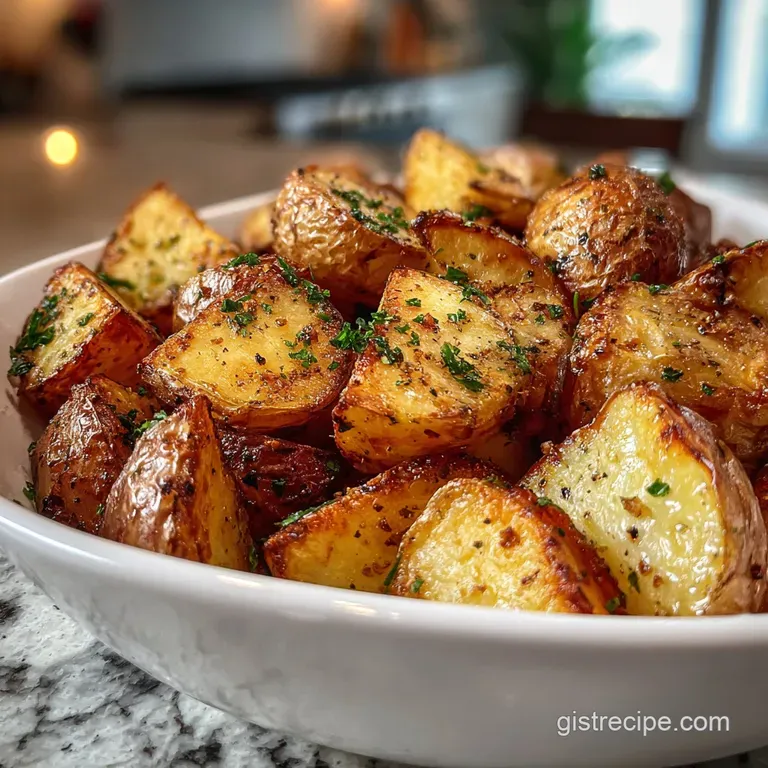
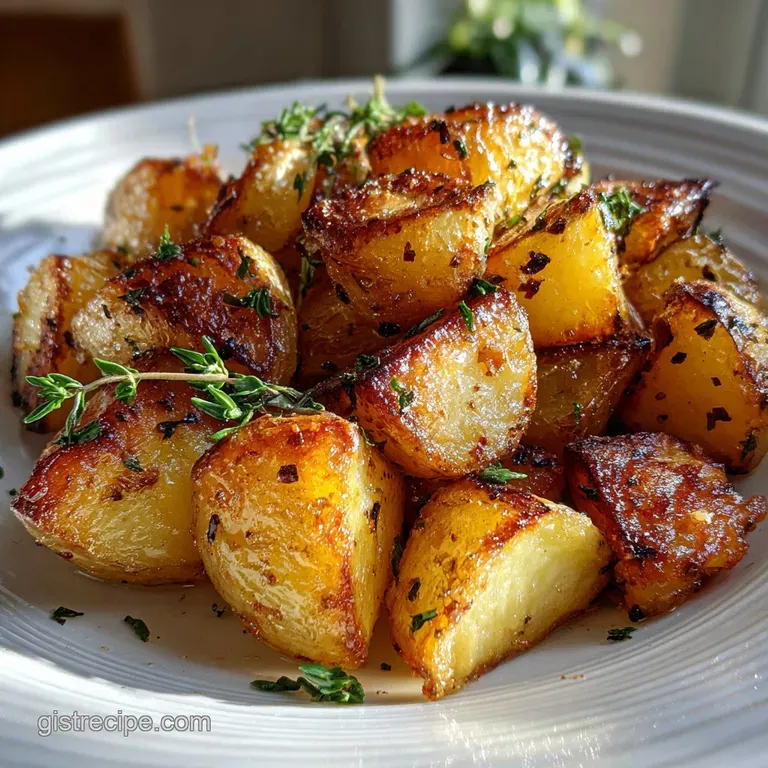
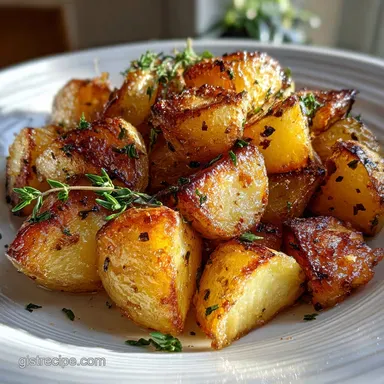
Crispy Roasted Potatoes in Oven
- Time: Active 15 minutes, Passive 50 minutes, Total 1 hours 5 mins
- Flavor/Texture Hook: Shatter crisp exterior with a velvety, cloud like center
- Perfect for: Sunday roasts, holiday sides, or a comforting weeknight treat
- Mastering the Crispy Roasted Potatoes in Oven
- The Science of the Glassy Crunch
- Timing Guide for Golden Results
- Component Analysis for Optimal Texture
- Pantry Staples for Your Next Potato Side
- Essential Kitchen Tools for Roasted Potato Success
- Simple Steps for Turning Spuds into Gold
- Solving Common Problems with Sizzling Oven Potatoes
- Scaling the Recipe for Any Crowd
- Creative Twists for Your Potato Flavor Profile
- Kitchen Myths Debunked
- Keeping Your Leftover Potatoes Crunchy and Fresh
- Best Dishes to Serve with These Roasted Spuds
- Recipe FAQs
- 📝 Recipe Card
Mastering the Crispy Roasted Potatoes in Oven
Listen, I've spent years chasing that specific sound the one where your fork hits a potato and it sounds like breaking glass. I used to think it was a secret held only by high end gastropubs with industrial deep fryers.
I'd toss chopped spuds in oil, crank the heat, and end up with something either burnt on the outside or depressingly soft. It was a cycle of potato disappointment that ended the day I realized the real magic happens in a pot of boiling water before the oven even turns on.
The first time I tried the alkaline method, I thought I’d ruined them. The potatoes looked like a shaggy, starchy mess after I drained them. I almost threw the whole batch out, thinking they’d just turn into a puddle on the tray.
But once that tray hit the heat and the sizzle started, I knew something was different. Forty minutes later, I wasn't just eating roasted potatoes; I was eating gold. This is the only way I make them now, and honestly, you'll never look back once you hear that first crunch.
We’re keeping things very low fuss here. You don’t need fancy gadgets or ten different types of fat. Just a standard pot, a rimmed baking sheet, and the patience to let the oven do its thing. We're going to lean on a few chemical reactions to do the heavy lifting for us.
It's reliable, it's comforting, and it's the kind of side dish that usually disappears before the main course even hits the table. Trust me, make a double batch.
The Science of the Glassy Crunch
The secret to this texture lies in the chemistry of the potato's surface. By adding baking soda to the water, we create an alkaline environment that breaks down the potato’s pectin the "glue" that holds plant cells together much faster than plain water.
This creates a thick layer of starchy "slurry" on the outside of each chunk.
- Pectin Breakdown: Alkaline water weakens the cellular structure of the potato surface, allowing it to become shaggy and increased in surface area.
- Starch Gelatinization: Par boiling hydrates the starch granules, making them swell and burst, which eventually dehydrates in the oven to form a rigid, crispy shell.
- Maillard Reaction: The increased surface area from "roughing them up" provides more sites for browning, leading to a deeper, more savory flavor profile.
- Heat Transfer: The oil infused starch slurry acts as a conductor, frying the exterior of the potato while the interior steams to a velvety finish.
Timing Guide for Golden Results
| Potato Chunk Size | Par Boil Time | Oven Temperature | Total Roast Time |
|---|---|---|---|
| 1 inch cubes | 6-8 minutes | 450°F (230°C) | 35-40 minutes |
| 2 inch chunks | 10 minutes | 450°F (230°C) | 50 minutes |
| Whole baby spuds | 12 minutes | 425°F (220°C) | 45-55 minutes |
This guide helps you adjust based on how you’ve prepped your spuds. For the 3 lbs of potatoes in this recipe, sticking to the 2 inch chunks ensures the interior stays fluffy while the outside has time to develop that signature shatter.
Component Analysis for Optimal Texture
| Ingredient | Science Role | Pro Secret |
|---|---|---|
| Baking Soda | Pectin Degrader | Increases surface pH to accelerate browning and breakdown. |
| Yukon Gold Potatoes | High Starch Content | These have the best balance of creamy interiors and crispy skins. |
| Extra Virgin Olive Oil | Heat Conductor | Carries flavor and ensures even frying on the baking sheet. |
| Kosher Salt | Seasoning & Abrasive | Helps rough up the surface during the tossing phase. |
While you can use Russets for an even crunchier (though slightly drier) result, Yukon Golds are my reliable go to for that buttery mouthfeel that everyone loves.
Pantry Staples for Your Next Potato Side
We are sticking to the classics here. These ingredients are likely already in your kitchen, which is why this is such a foolproof recipe for any night of the week.
- 3 lbs Yukon Gold or Russet potatoes: Peeled and cut into 2 inch chunks. Why this? Yukon Golds offer a creamy texture, while Russets are the kings of crunch.
- Substitute: Red potatoes (Note: They will be waxier and slightly less crispy).
- 2 quarts water: For the par boil.
- Substitute: Chicken or vegetable stock for extra depth.
- 1 tbsp Kosher salt: For the boiling water.
- Substitute: Fine sea salt (use 2 tsp instead).
- 0.5 tsp baking soda: The non negotiable for the alkaline break down.
- Substitute: None. Skipping this changes the entire texture.
- 0.33 cup Extra Virgin Olive Oil: For roasting and flavor.
- Substitute: Duck fat or beef tallow for a richer, more traditional roast potato flavor.
- 3 cloves garlic: Minced. Why this? It adds a sharp, aromatic finish that cuts through the starch.
- Substitute: 1 tsp garlic powder added to the oil.
- 1 tbsp fresh rosemary: Finely chopped.
- Substitute: 1 tsp dried rosemary, crushed between your fingers.
- 0.25 tsp freshly cracked black pepper: For a subtle heat.
- 0.5 tsp flaky sea salt: For finishing. Why this? Adds a final textural pop and brightens the flavors.
Essential Kitchen Tools for Roasted Potato Success
You don't need a kitchen full of gadgets for this. In fact, keeping it simple usually yields better results. A heavy rimmed baking sheet is your best friend here because it holds onto heat and prevents the oil from spilling into your oven.
A large pot (at least 4-6 quarts) is necessary to give the potatoes room to dance around without cooling the water down too much when you drop them in. I also highly recommend a solid metal spatula. You need something thin and sturdy to get under those potatoes when it's time to flip them.
Silicone spatulas are too thick and might just mush the potatoes instead of sliding under the crust.
Finally,, a large mixing bowl is better for the "roughing up" stage than the pot itself. It gives you more leverage to toss the potatoes vigorously, which is the key to creating that starchy slurry. If you use the pot, you might accidentally smash them too much against the high sides.
Simple Steps for Turning Spuds into Gold
Phase 1: The Alkaline Par Boil
- Boil water. Combine 2 quarts water, 1 tbsp Kosher salt, and 0.5 tsp baking soda in a large pot and bring to a rolling boil.
- Add potatoes. Carefully drop the 3 lbs of 2 inch potato chunks into the water.
- Simmer. Cook for about 10 minutes until a knife meets little resistance but the potatoes aren't falling apart.
Phase 2: The Starch Slurry (The Rough Up)
- Drain well. Let the potatoes sit in the colander for 2 minutes to allow excess steam to evaporate.
- Infuse oil. While they rest, heat 0.33 cup olive oil in a small pan with the minced garlic and rosemary just until the garlic begins to sizzle and smell fragrant. Strain the oil if you want to avoid burnt garlic bits, or keep them in for more texture.
- The Rough Up. Transfer potatoes to a large bowl, pour over the infused oil, and toss vigorously until a thick, mashed potato like paste coats every chunk.
Phase 3: The over High heat Sizzle
- Spread out. Pour the potatoes onto a large rimmed baking sheet. Ensure they are in a single layer with space between them.
- Roast. Place in a preheated 450°F (230°C) oven. Bake for 20 minutes until the bottoms are deep golden and crackling.
Phase 4: The Golden Transformation
- Flip. Use a metal spatula to turn the potatoes, being careful to keep the crust intact.
- Final crisp. Roast for another 30 minutes, tossing occasionally, until they are mahogany brown and shatteringly crisp. Season with flaky sea salt and extra pepper before serving.
Solving Common Problems with Sizzling Oven Potatoes
Sometimes, even with the best intentions, things go sideways. The most common issue I see is potatoes sticking to the pan. This usually happens because the pan wasn't hot enough or you tried to flip them too early. Let the heat do the work of releasing the potato from the metal.
The "Soggy Center" Syndrome
If your potatoes are crispy on the outside but feel heavy or dense inside, it usually means the chunks were too large or you didn't par boil them long enough. The interior needs to be fully hydrated and "creamed" during the boiling phase so that it turns into a fluffy cloud in the oven.
Burnt Garlic Bitterness
Garlic burns at a much lower temperature than potatoes roast. If you toss raw garlic with the potatoes and roast for 50 minutes, you'll end up with bitter black flecks.
This is why I recommend infusing the oil first and straining the garlic out, or adding the garlic bits only in the last 10 minutes of roasting.
| Problem | Root Cause | Solution |
|---|---|---|
| Potatoes sticking | Tried to flip too early | Wait until a crust forms; it will naturally release from the pan. |
| Pale color | Oven temp too low | Ensure oven is fully preheated to 450°F; use a dark baking sheet if available. |
| Mushy texture | Overcrowded pan | Use two baking sheets or roast in batches to allow steam to escape. |
Common Mistakes Checklist
- ✓ Pat the potatoes dry with a clean towel if they seem too wet after draining.
- ✓ Preheat your baking sheet for 5 minutes before adding the potatoes for an extra head start.
- ✓ Use a metal spatula to scrape up every bit of the golden crust.
- ✓ Don't skimp on the oil; it's the medium that "fries" the exterior.
- ✓ Check your oven temperature with a thermometer; many ovens run 25 degrees cold.
Scaling the Recipe for Any Crowd
If you're cooking for a large dinner party, you can easily double this recipe. However, do not try to cram 6 lbs of potatoes onto one tray. They will steam instead of roast, and you'll lose that crunch. Use two trays and swap their positions in the oven halfway through.
For smaller portions (half a recipe), you can use a smaller pan, but keep the oven temperature the same. The cook time might drop by about 10 minutes, so start checking them earlier.
If you're doubling the spices and salt, increase them by 1.5x rather than a full 2x to avoid over seasoning, as the surface area doesn't double exactly with the weight.
Creative Twists for Your Potato Flavor Profile
1. Crispy Roasted Parmesan Potatoes Oven
During the last 5 minutes of roasting, sprinkle 0.5 cup of finely grated Parmesan cheese over the potatoes. The cheese will melt into the starchy nooks and crannies, creating a salty, lacy crust that is absolutely addictive.
2. Crispy Roasted Sweet Potatoes Oven
You can use this same "roughing up" method with sweet potatoes, though you should skip the baking soda as they are already prone to breaking down. Decrease the roasting time by 10 minutes as the sugar in sweet potatoes browns much faster.
3. Crispy Roasted Red Potatoes or Baby Potatoes Oven
If using smaller red or baby potatoes, leave the skins on but cut them in half. The skin provides a different kind of "snap" while the cut side gets that alkaline crunch. Reduce par boiling to 6-8 minutes so they don't turn into mash.
Kitchen Myths Debunked
Many people believe that soaking potatoes in cold water for hours is the only way to get them crispy. While this does remove surface starch (which helps with French fries), it actually works against us here. We want that surface starch to stay and turn into a slurry.
The alkaline par boil is far more effective for oven roasting than a long cold soak.
Another common myth is that you need a "drying rack" in the oven. While racks are great for airflow, they prevent the potato from having direct contact with the hot, oiled metal of the baking sheet. That contact is exactly what creates the thick, fried like crust we’re after.
Keep them directly on the tray for the best results.
Keeping Your Leftover Potatoes Crunchy and Fresh
Storage: Store any leftovers in an airtight container in the fridge for up to 4 days. They will lose their crunch in the fridge, but don't worry the texture can be revived.
Reheating: Never use the microwave; it will turn them into rubber. Instead, pop them back onto a baking sheet in a 400°F oven for 10-15 minutes. They’ll crisp right back up.
Alternatively, an air fryer at 375°F for 5 minutes works like a charm.
Zero Waste: If you have just a few potatoes left, chop them up and use them as the base for a breakfast hash. The extra starchy crust browns beautifully in a skillet with some onions and peppers. You can also freeze the par boiled, oil tossed potatoes on a tray, then move them to a bag.
Roast them straight from frozen, adding about 15 minutes to the cook time.
Best Dishes to Serve with These Roasted Spuds
These potatoes are the ultimate wingman. They pair beautifully with a medium rare roast beef or a simple herb roasted chicken. Because they have such a distinct crunch, I love serving them alongside something with a bit of sauce or "juiciness" to balance the plate.
If you're going meatless, these are hearty enough to be the star of a grain bowl or served alongside a big, bright arugula salad with a lemon vinaigrette. The sharpness of the greens cuts through the rich, roasted starch perfectly. And honestly?
They are pretty incredible just dipped into a quick garlic aioli or even some high-quality ketchup for a "fancy fries" vibe at home. Just make sure you serve them hot that crunch is at its peak the second they come out of the oven.

Recipe FAQs
What's the secret to crispy roasted potatoes?
The alkaline par boil. Adding baking soda to the boiling water breaks down the potato's pectin, creating a starchy slurry that fries to a glass like crust in the oven.
How to make crispy roast potatoes in the oven?
Par boil potatoes in salted water with baking soda for about 10 minutes. Drain them well, rough up their surface in a bowl with hot, infused oil, then spread on a hot baking sheet and roast at 450°F until deeply golden and shatteringly crisp.
Why won't my roast potatoes get crispy?
Likely causes are overcrowding the pan, not using enough oil, or insufficient heat. Ensure potatoes are in a single layer, coated thoroughly with oil, and roasted in a very hot oven (450°F) to allow steam to escape and browning to occur.
How long do potatoes take to go crispy in the oven?
Typically 45-50 minutes for 2 inch chunks at 450°F. This includes the initial crisping phase and a subsequent flip for even browning, ensuring a shatteringly crisp exterior.
Can I use frozen potatoes for crispy results?
No, stick with fresh. Frozen potatoes release too much moisture when thawing and par boiling, which prevents them from achieving that desirable crispy crust.
Is it true I need to use a high starch potato?
Yes, high starch potatoes like Yukon Golds or Russets are best. Their composition allows for the interior to become fluffy while the alkaline treatment creates a thick, starchy layer on the outside that crisps up beautifully.
How important is the "roughing up" step?
It's crucial for maximum crispiness. Vigorously tossing the par boiled potatoes in oil creates a thick, mashed potato like paste on their surface, dramatically increasing the surface area for a superior crunchy crust.
Crispy Roasted Potatoes
Ingredients:
Instructions:
Nutrition Facts:
| Calories | 288 kcal |
|---|---|
| Protein | 4.5 g |
| Fat | 12.7 g |
| Carbs | 39.7 g |
| Fiber | 5.1 g |
| Sugar | 1.8 g |
| Sodium | 440 mg |
